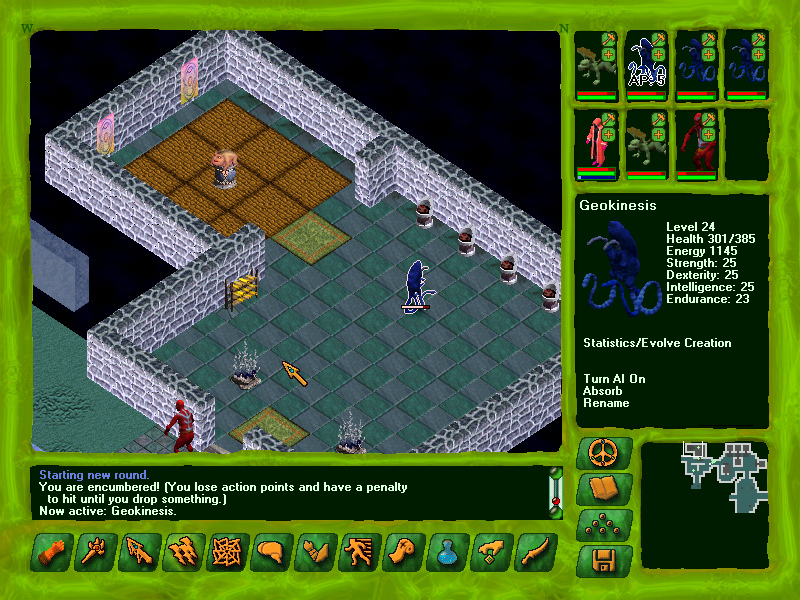
Part 57: Uncharted Territory
Uncharted TerritoryWe've got some more loose ends to clean up!

Let's take another look at the Trajkov conversation. You have a few options here if you want to deceive him. First is the one I showed in my brief bonus update -- you can tell him to don the gloves and thrust his hands into the Geneforge, but of course, this ends badly. Trajkov isn't that naive.
If you picked up Trajkov's damaged gloves, you can repair them yourselves. If you visited Goettsch, you can get a pair of fakes if you parley with him. Of course, you can also steal the real gloves from him.
Here's the dialogue for giving Trajkov the fake gloves:
 "I have a pair of shaping gloves here." (Show fake gloves to Trajkov.)
 Trajkov's eyes light up. "Yes! At last! At last I have them. Hurry. Give them to me!"
 Then he takes a closer look. "Wait. Those look different from the original gloves somehow. What trickery is this?"
"It must have been a trick. I'll see if I can find the correct gloves."or: "Goettsch has cleaned them and done some repair work on them. That is probably why they look different. They're the same gloves." (Lie. Give them to him.)
The second option causes the scene to proceed as you saw, with Trajkov dying. The first option has him tell you to solve the problem.
Now, if you interact with the Geneforge, you'll get several options. Notably, if you don't have the right gloves in your possession, the game doesn't remind you. Vogel!
 You can totally kill yourself here, so I hope you saved after you dealt with Trajkov. Without gloves, you'd get a game over:
Suicide by Geneforge posted:
The moment your hands enter the goo, it begins to fulfill its purpose. It shoots through your skin and inside you. It seeks out the tiny instructions deep inside you and begins to rewrite them, one at a time. The heat slowly crawls through your body.
However, the changes are happening far, far faster than they were supposed to. Your being starts to fragment. As you watch, your skin bubbles and flakes. Your internal organs shift about, change form, and then dissolve into liquid.
It's horribly painful, of course, but at least you die soon.
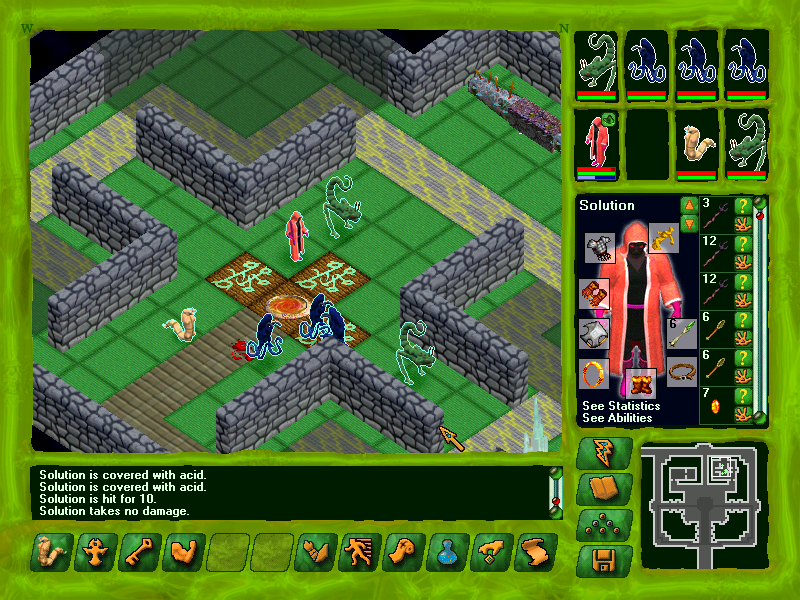
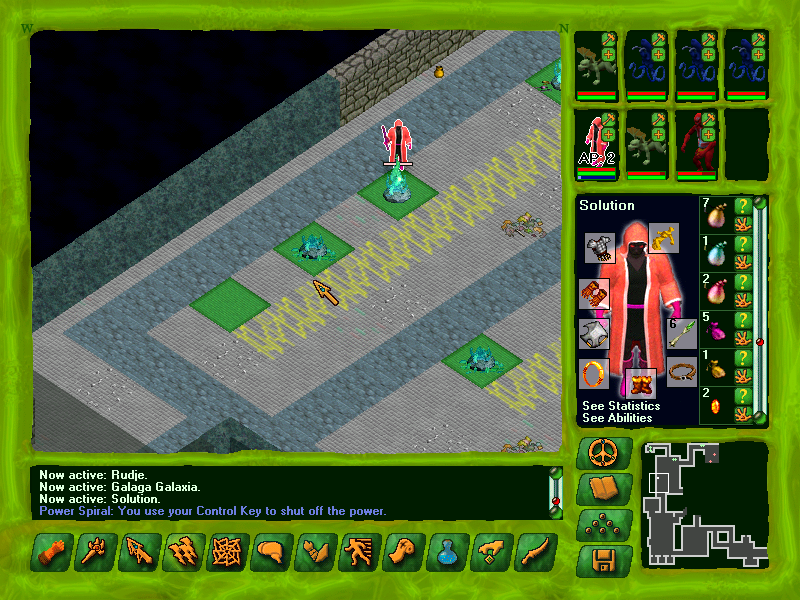
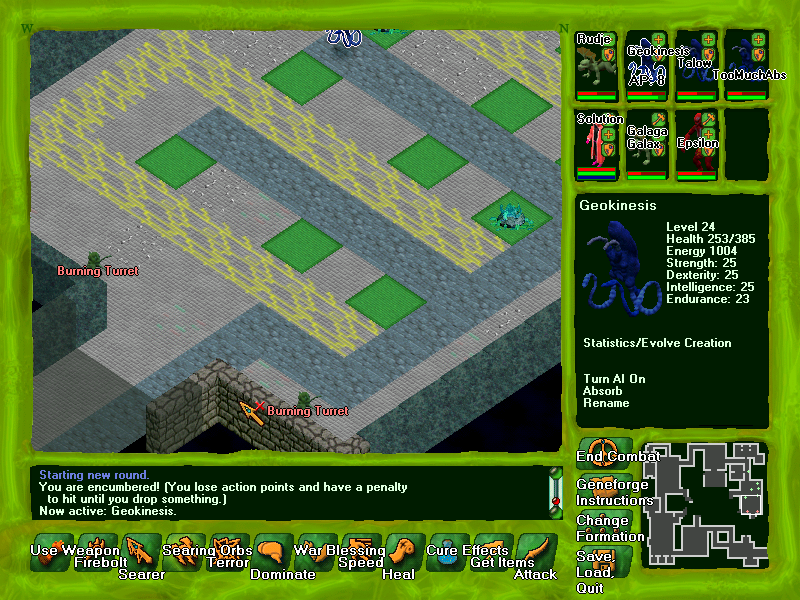
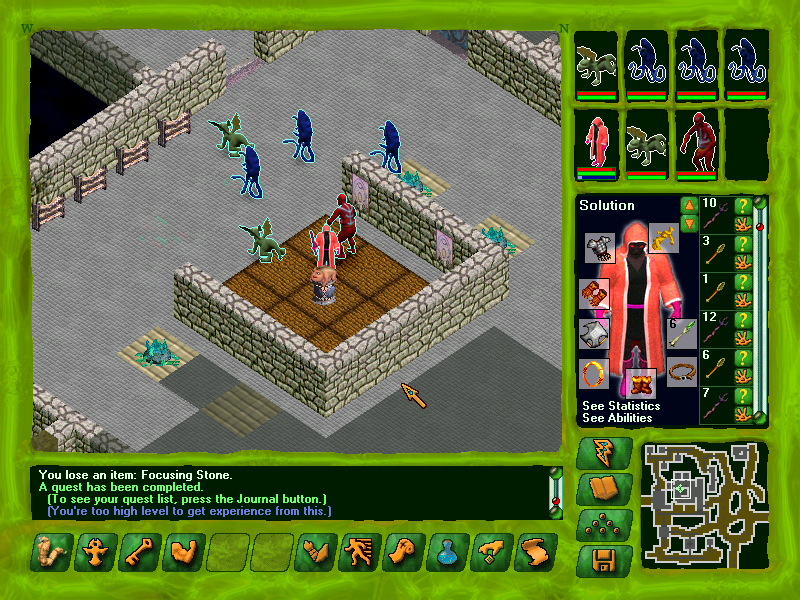
If you wish to destroy the Geneforge, a sufficient mechanics score will let you deactivate the four crystal pylons in the chamber. You can also try smashing the spirals, but I recommend against it!
It's Only Critical If the Rods Touch posted:
The spiral is heavily charged and highly unstable. You could shatter it, but the results would be unpredictable.
2. Smash it anyway.
The internal pressure of the device is considerable. The moment you strike it, cracks appear all up and down its surface. Steam hisses out, and the room grows warmer. You suspect that it is about to explode with a lot of force.
I'm not sure there's any safe distance from this explosion. It dealt multiple hundreds of damage to Solution even outside the chamber, though I didn't grab a screenshot of that.
But let's move on from those misadventures for a bit.
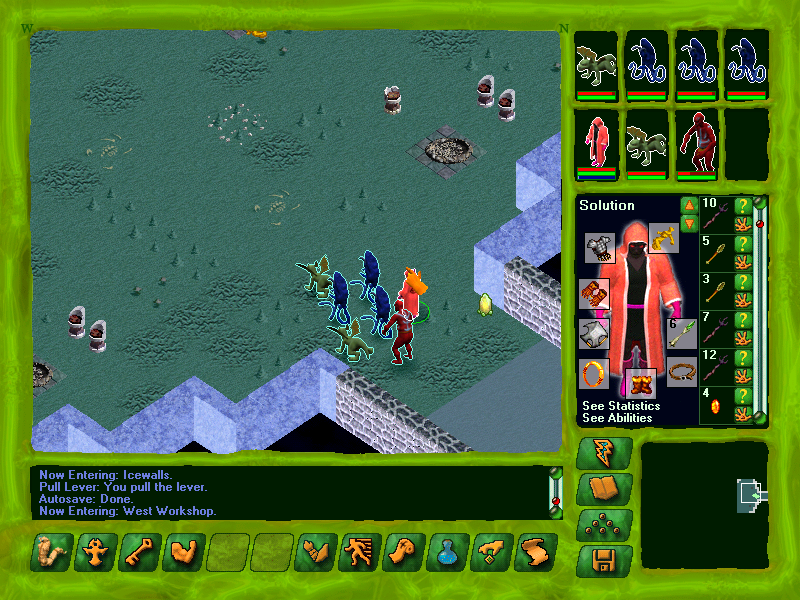
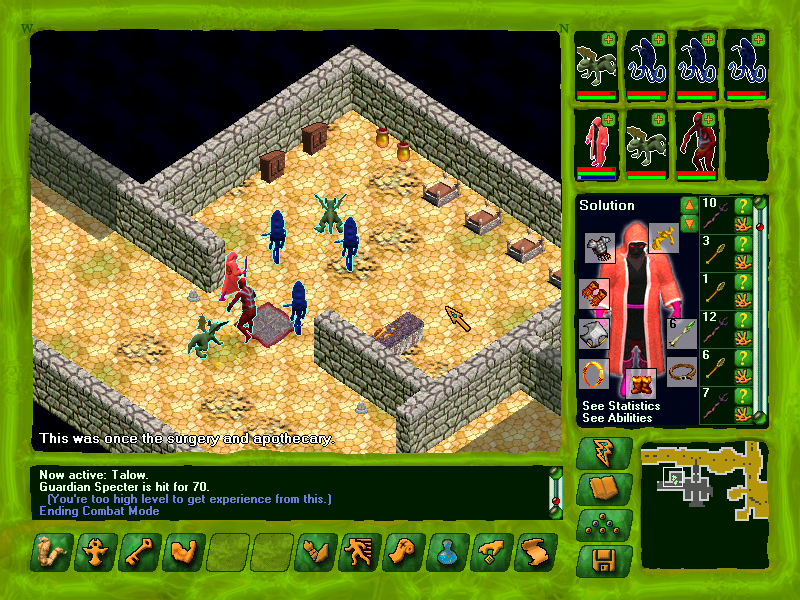
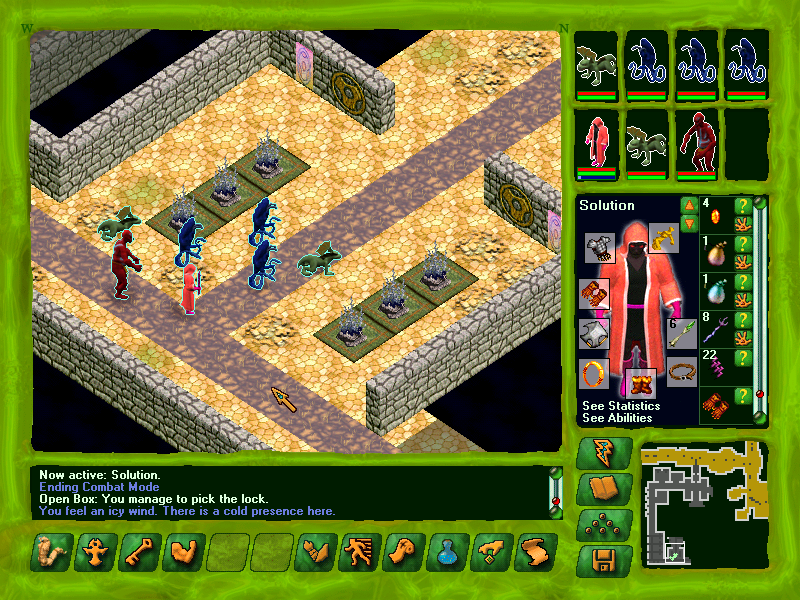
Here's the first of the areas we didn't clear:

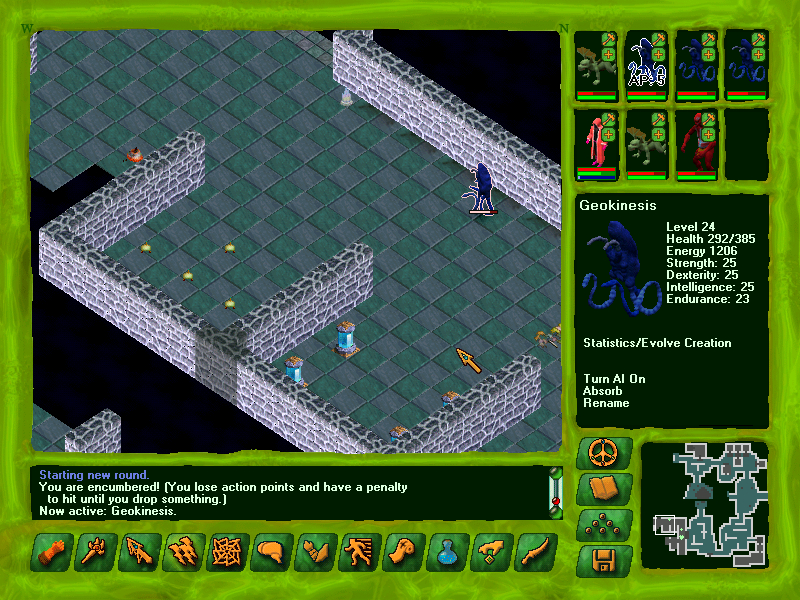
Game Text posted:
The weather changes with alarming suddenness. It is like you just walked into a wall of cold. One step, it was warm. The next, it was freezing cold. The sun still shines, but it has no effect on this frigid valley.
Powerful magic is at work here, and you have no idea why. You wrap your arms around yourself, stamp your feet, and try to stay warm.
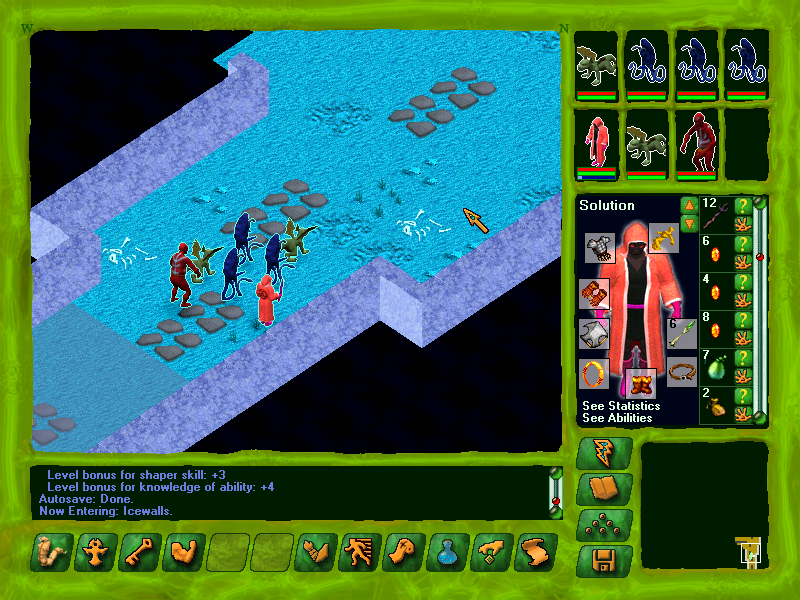
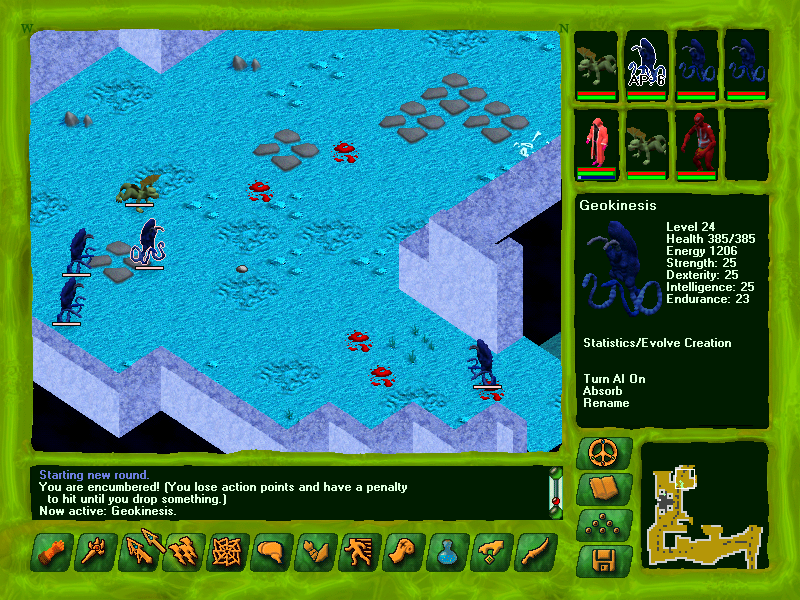
Fortunately, Icewalls doesn't have environmental damage, but the area it leads into does. Joy!
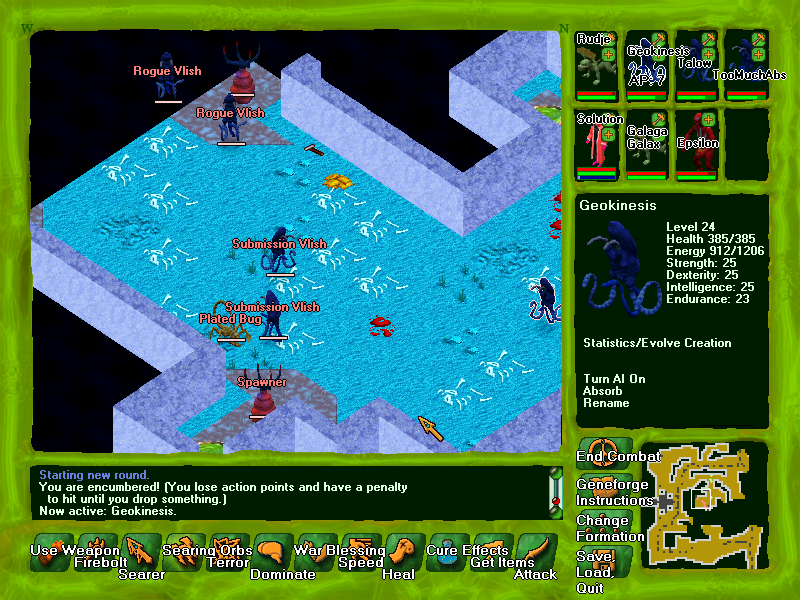
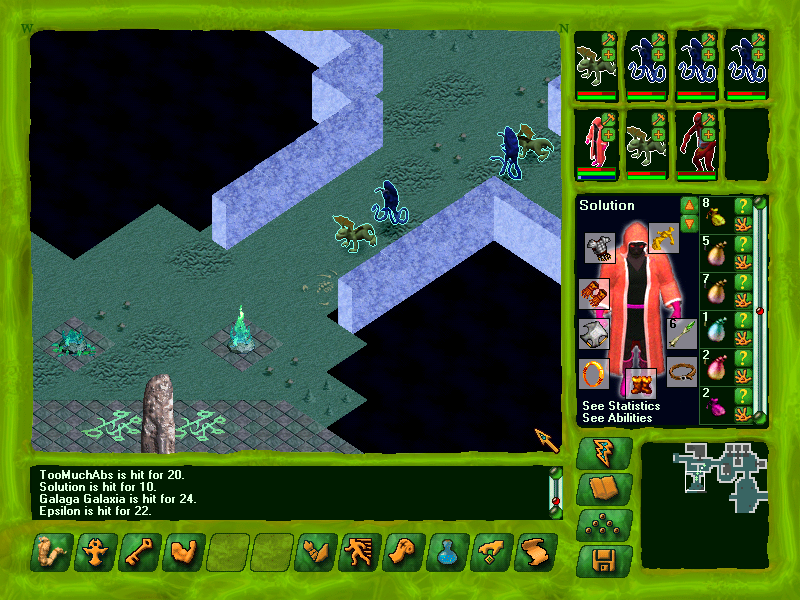
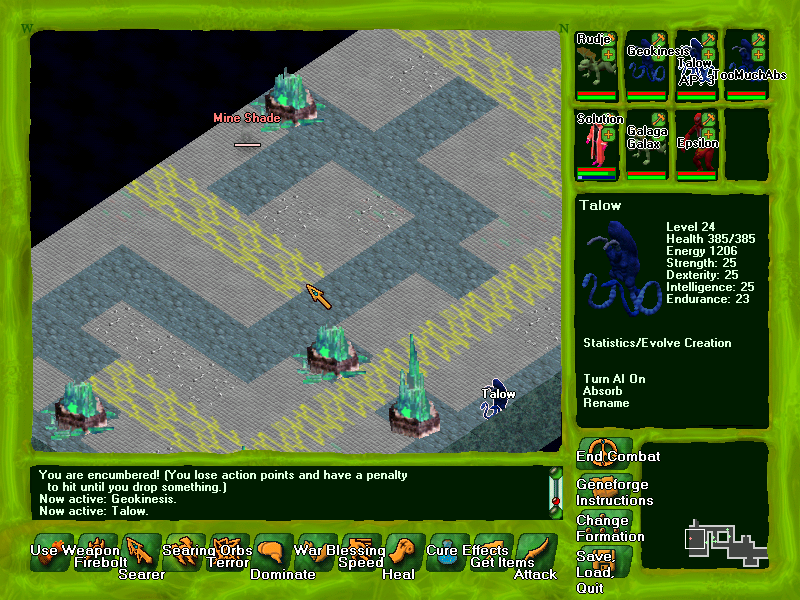
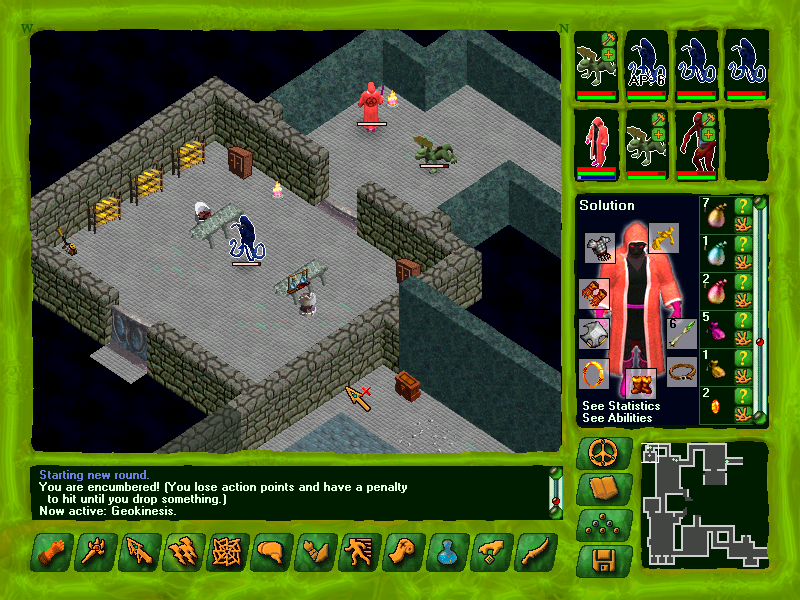
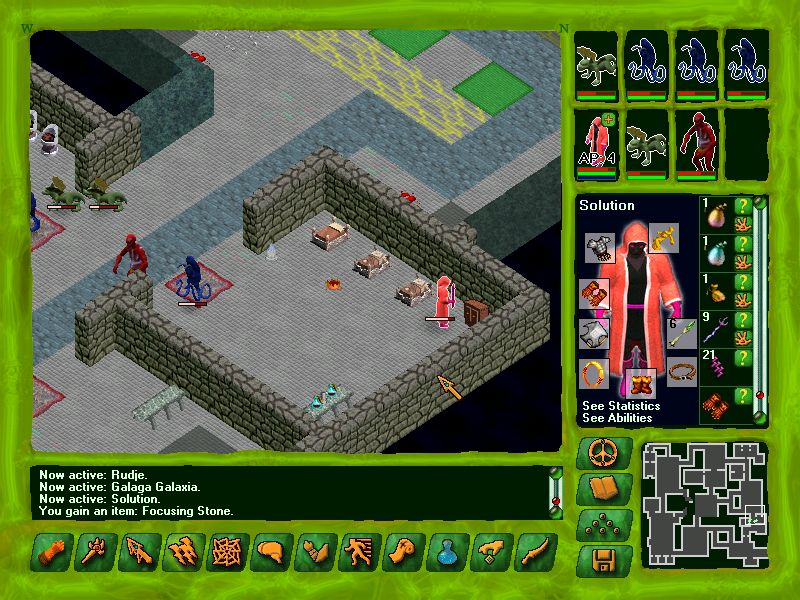
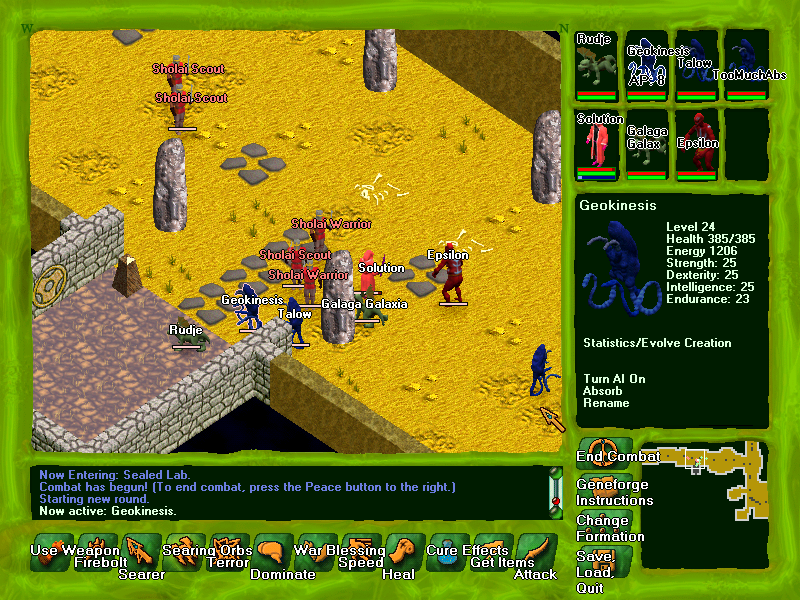
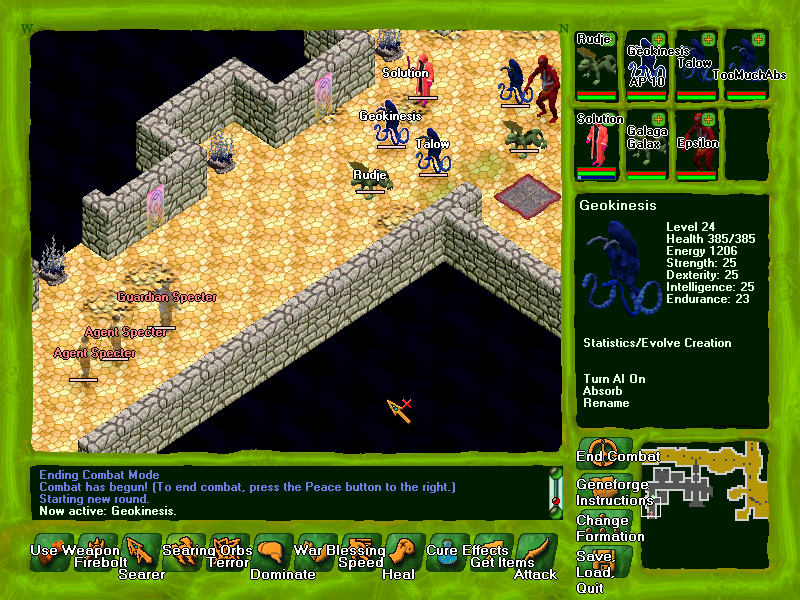
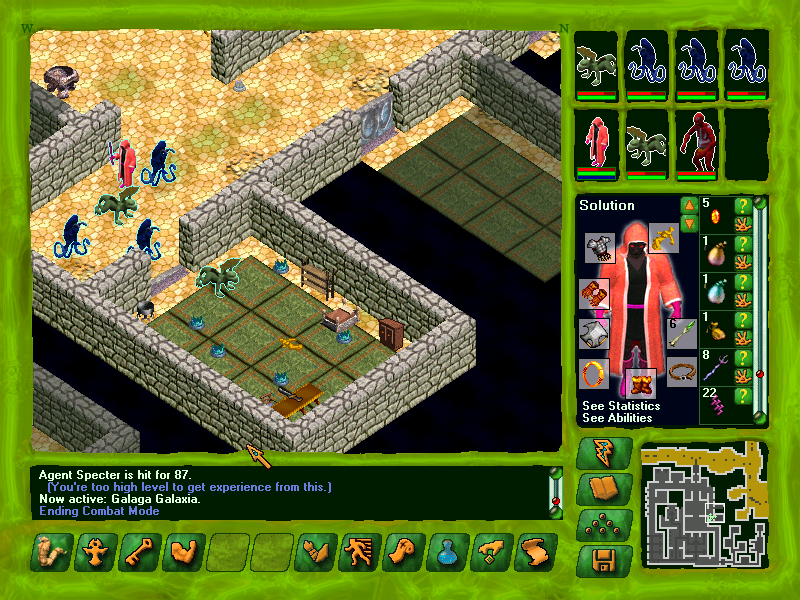
This area is absolutely rotten with rogue vlish, submission vlish, terror vlish, and plated bug enemies.
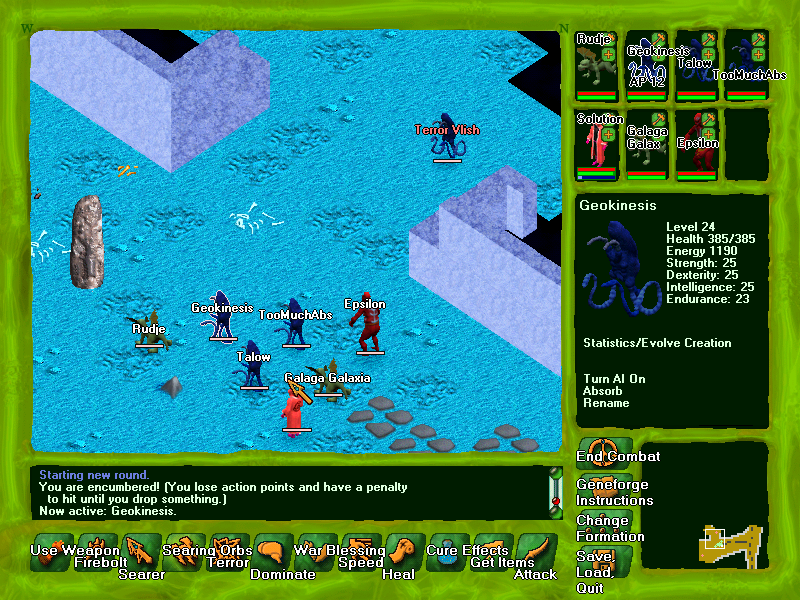
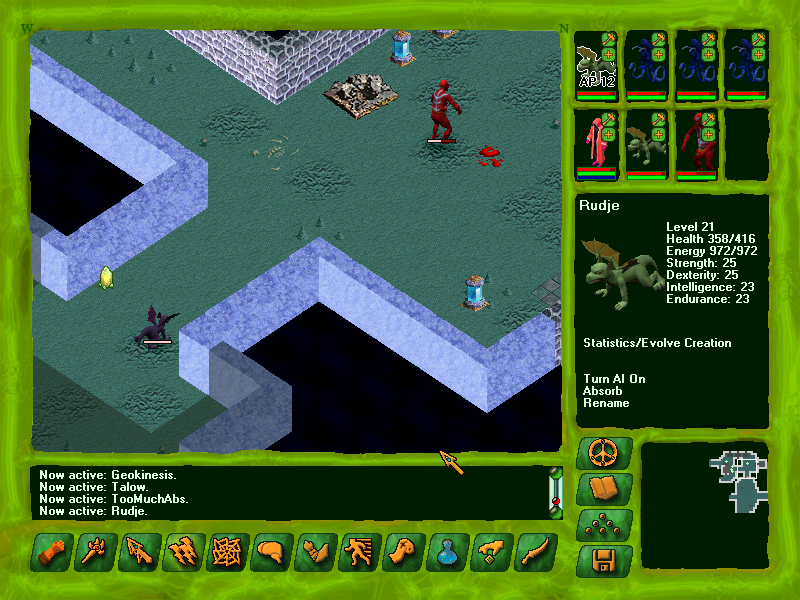
If you'll notice, I've taken the liberty of adding two standard drayks (Rudje and Galaga Galaxia) and a battle alpha (Epsilon) to the party. The drayks do some serious work -- their ranged fire bolt attack is quite powerful, and their melee bite can one shot many enemies. Unfortunately, Solution's battle shaping skill isn't very high, so Epsilon isn't much good as a tank. Even so, the battle alpha's melee strike is quite powerful. The problem is that an alpha probably won't get many opportunities to attack, since they are incredibly slow.

Our terror vlish trio completely outclasses all the other vlish in the game. We created them near the start of what I'd call this game's third act, and they just own face. Terror vlish will win this game for you.
There are a few doors on this level which simply will not unlock if you already have an entry baton. If you retrieve the entry baton from the next area (West Workshop) and return here, though, the doors will supposedly open and release Sholai enemies. I didn't have the opportunity to verify this, and I'm reluctant to replay most of the game just to test it myself. If someone else can verify it, or if there's some interesting extra dialogue you know about, please share!
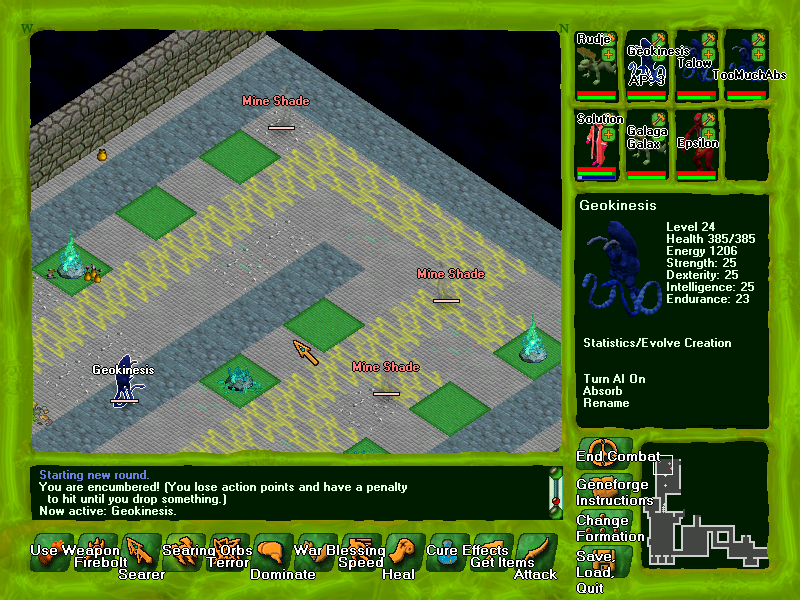
As you play through this zone, you might notice something odd. Namely that the enemies just keep coming. That's right, there are spawners around! ... Somewhere.
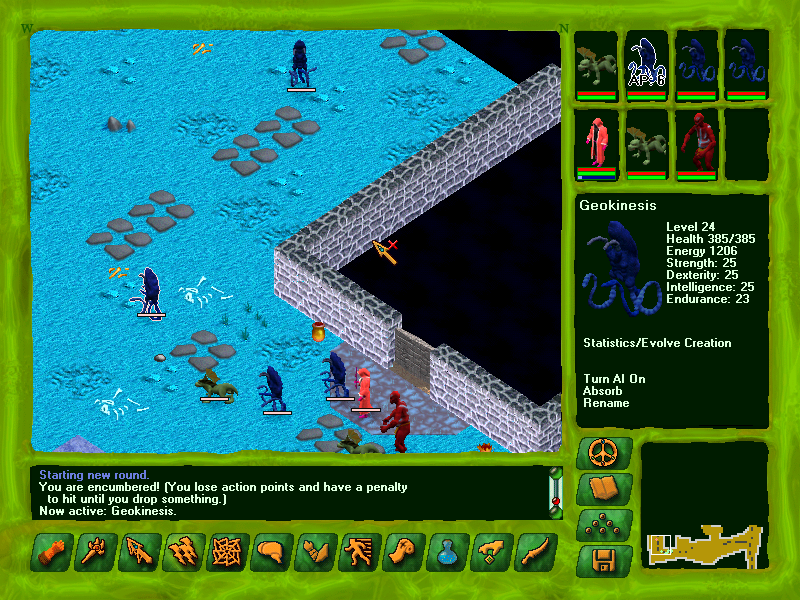
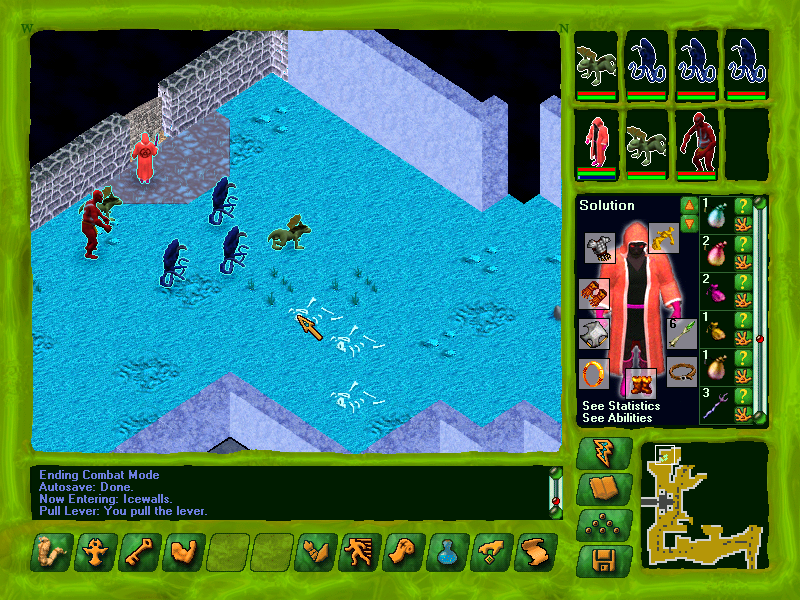
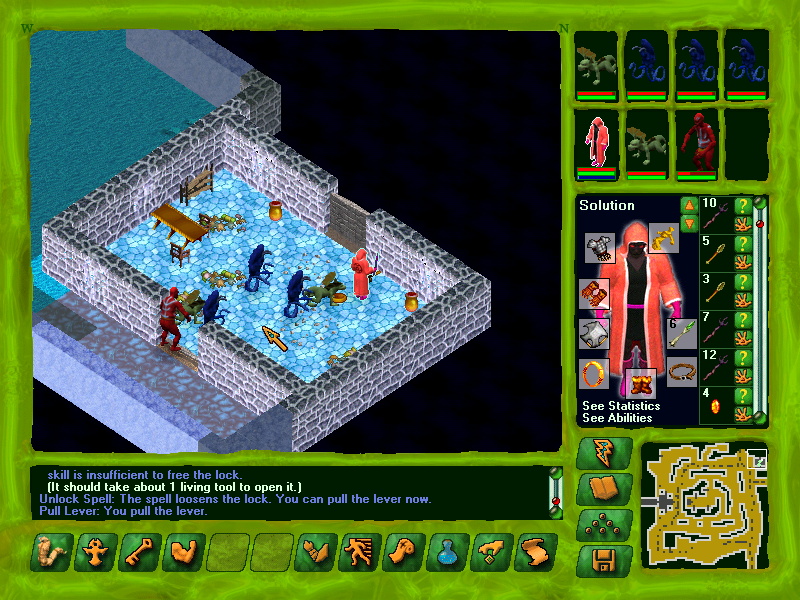
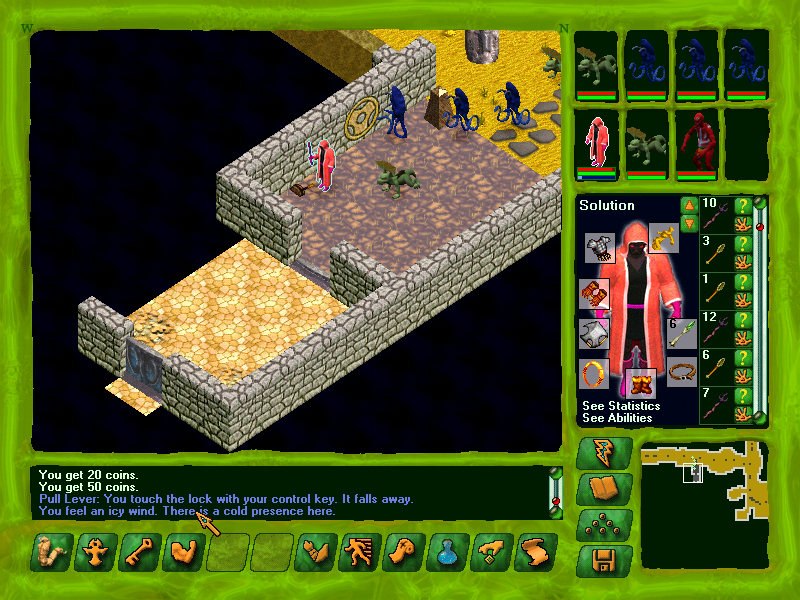
This doorway is the only passage to the West Workshop. The lever here has a strong lock on it, so unless you want to use up several living tools, I recommend searching for the key first.
This road leads you around the entire area.
Another sealed door.
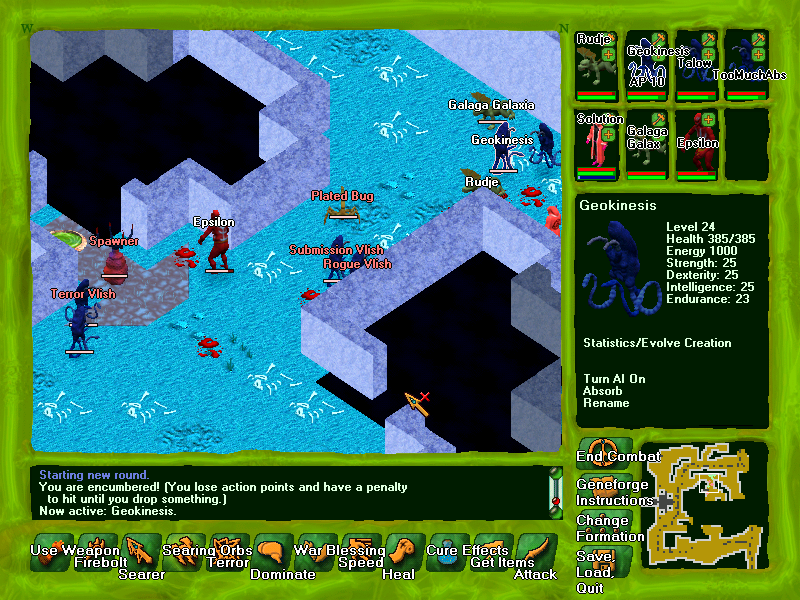
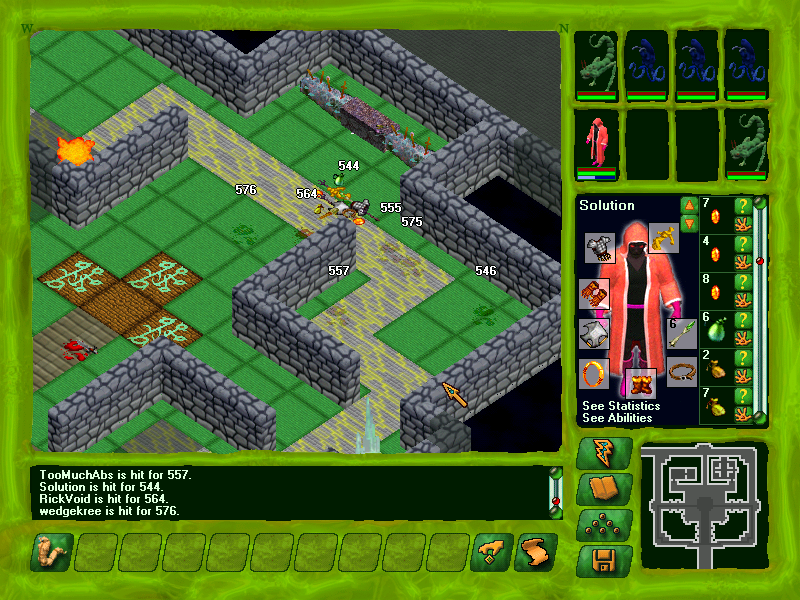
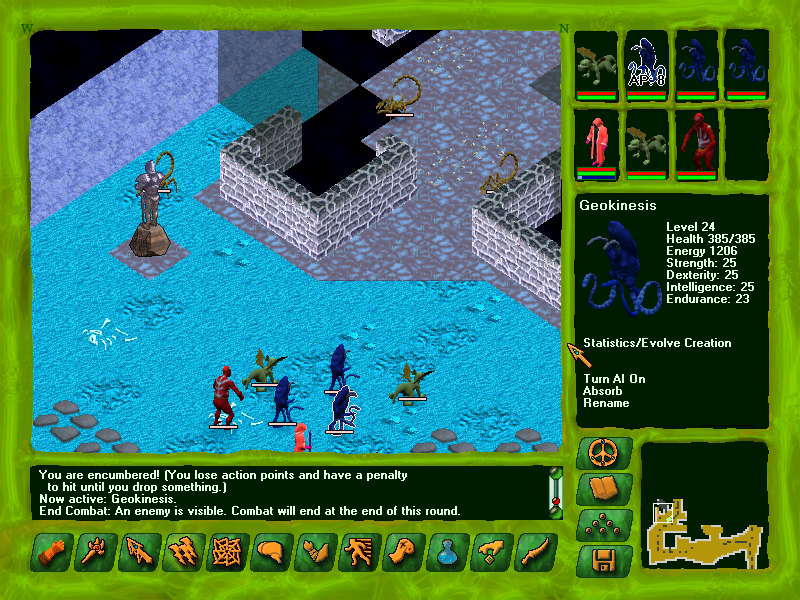
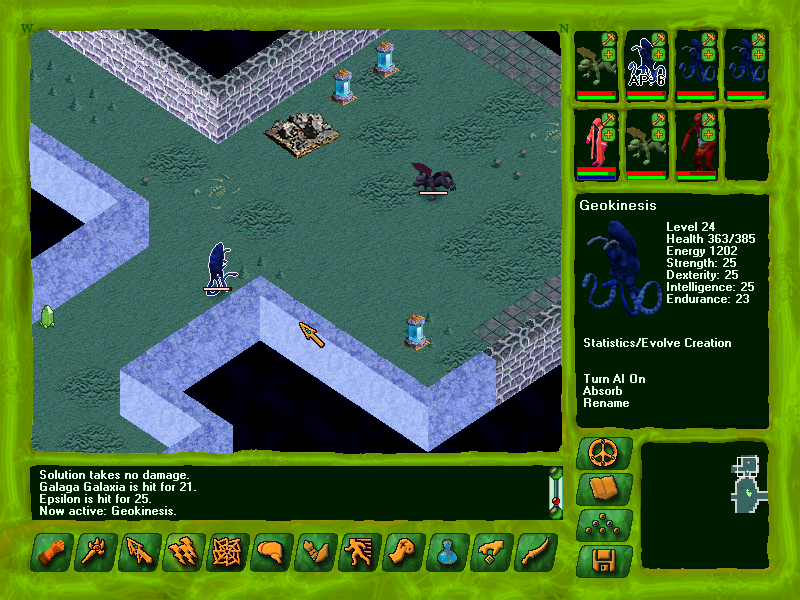
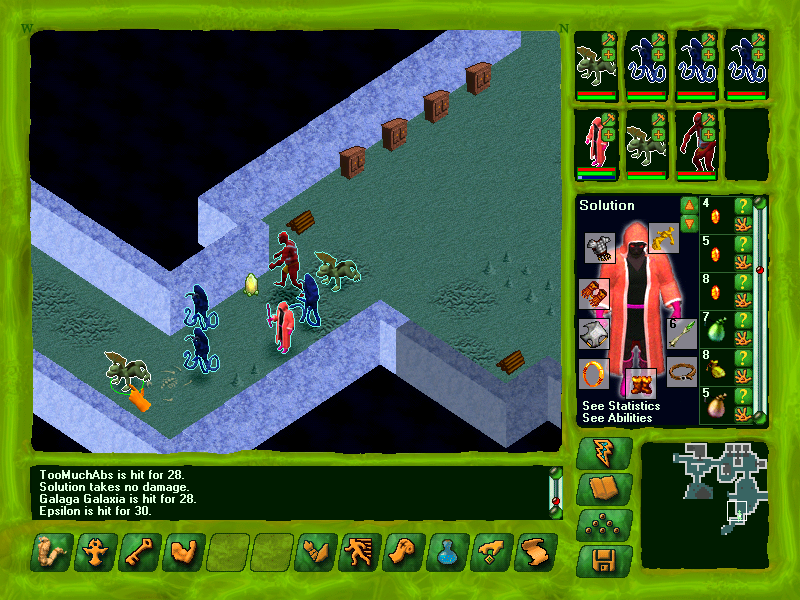
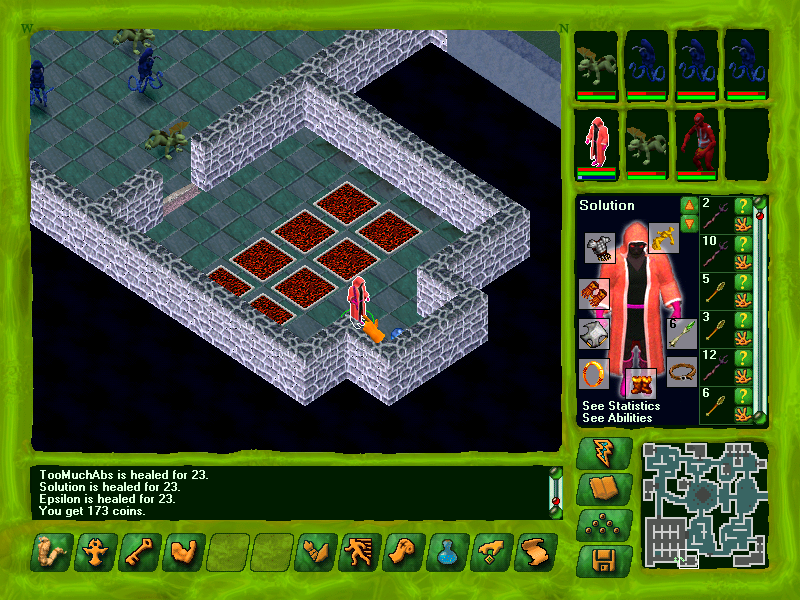
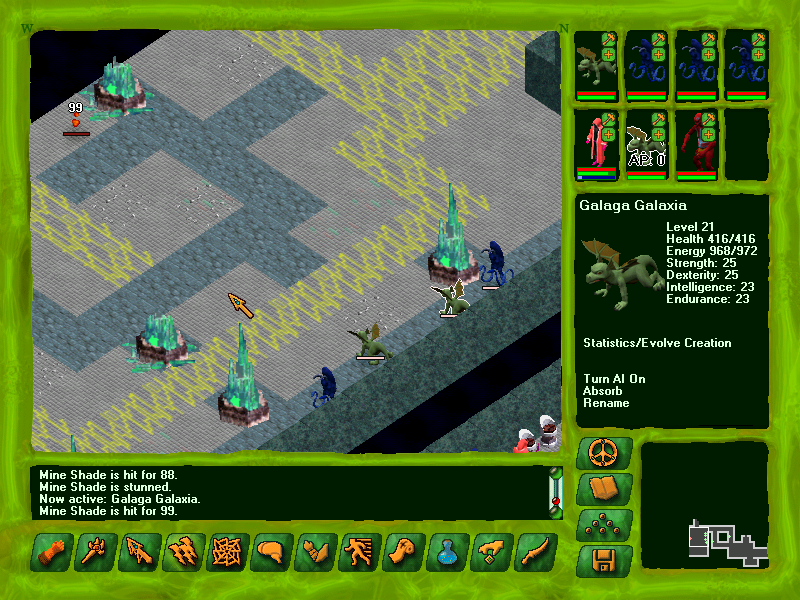
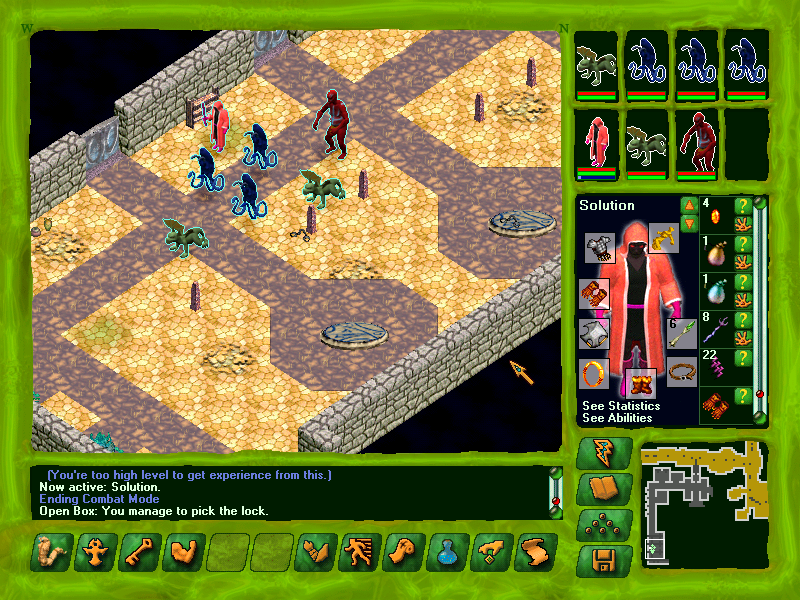
The first spawner! If you show up here earlier, the numerous ambushes and waves of foes can be overwhelming. Use your strongest attacks and items to cut down enemy numbers and then hit the spawners as soon as you can. Bear in mind that the essence pools behind the spawners actually deal damage to your PC and party if you're too near!
Of course, there couldn't be just one spawner here.
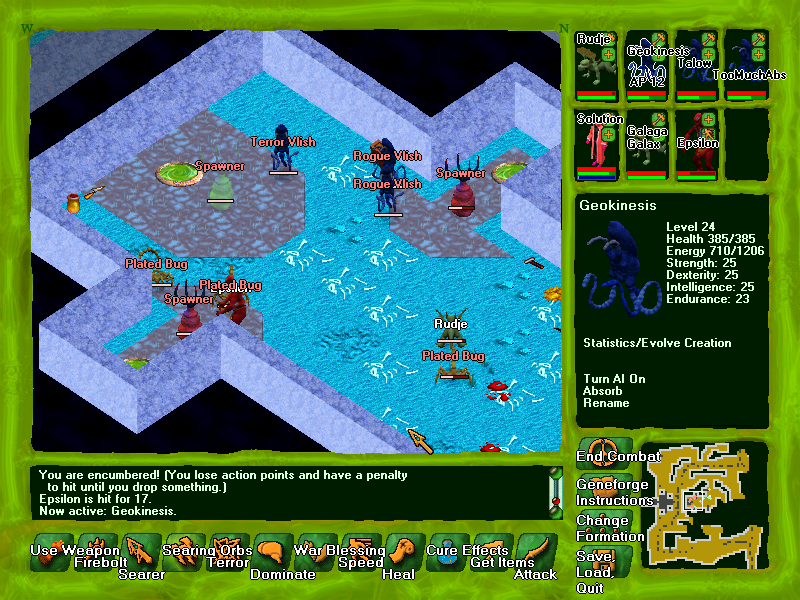
That's right, there are five! At Solution's level and with these creations, the spawners and their rogues aren't terribly threatening. You can see that Epsilon is taking a real beating, though. Poor alphas just aren't great at this stage.
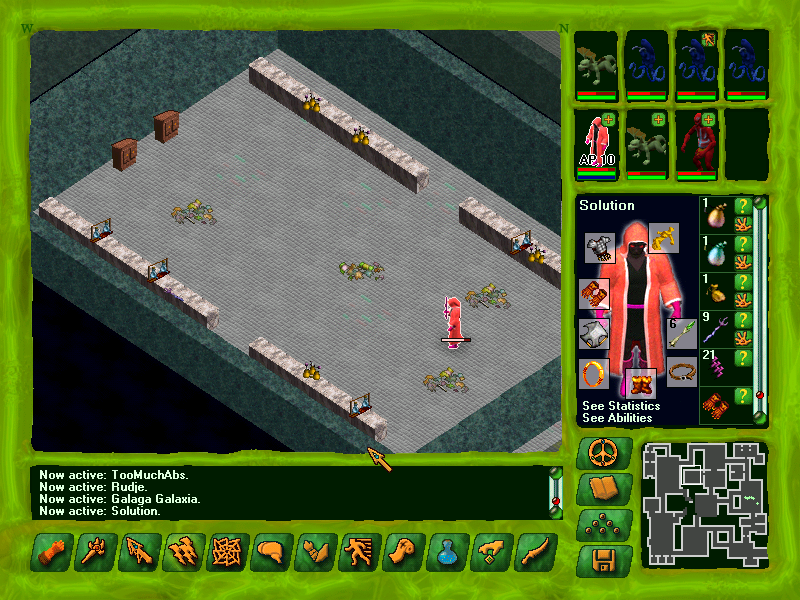
Once you clear out all the enemies, it's safe to open the chest and steal the key.
Game Text posted:
You open this box, left behind by whoever created this deadly gauntlet of spawners. Inside, you find some frozen, broken tools and some used up pods. You also find a pouch.
Inside the pouch, you find an iron key, icy cold to the touch. You wipe off the frost and put it in your pack.
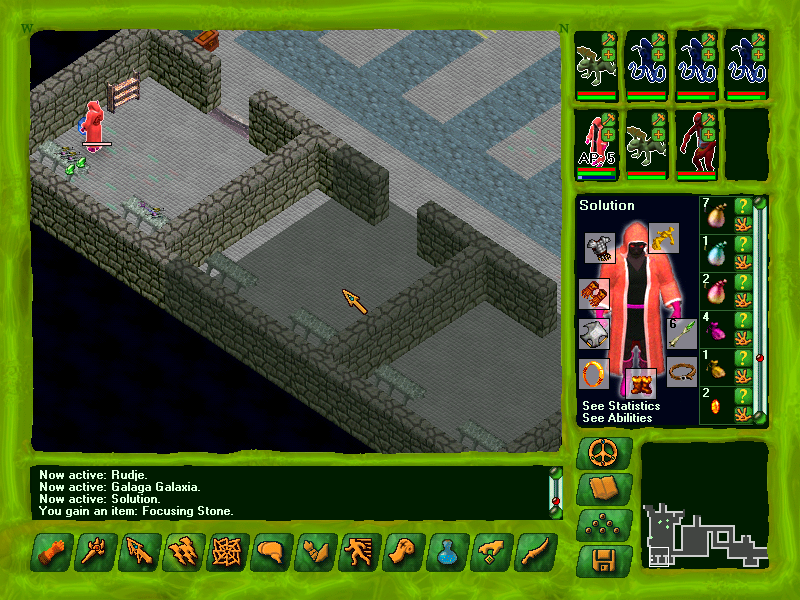
Then you can open the door to the West Workshop without wasting essence and living tools.
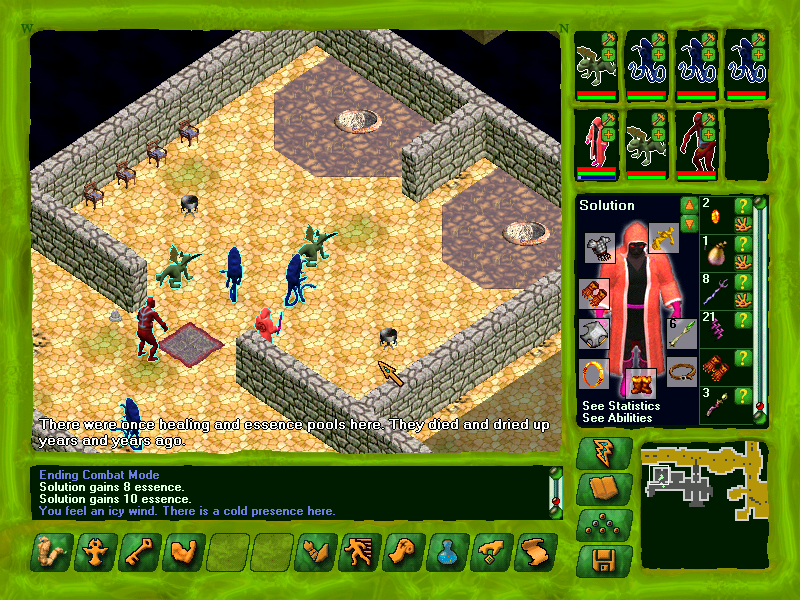
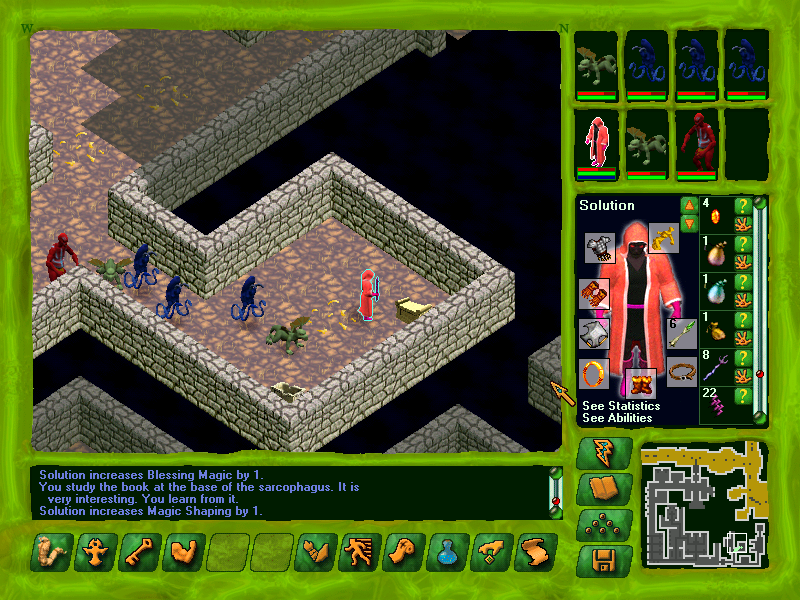
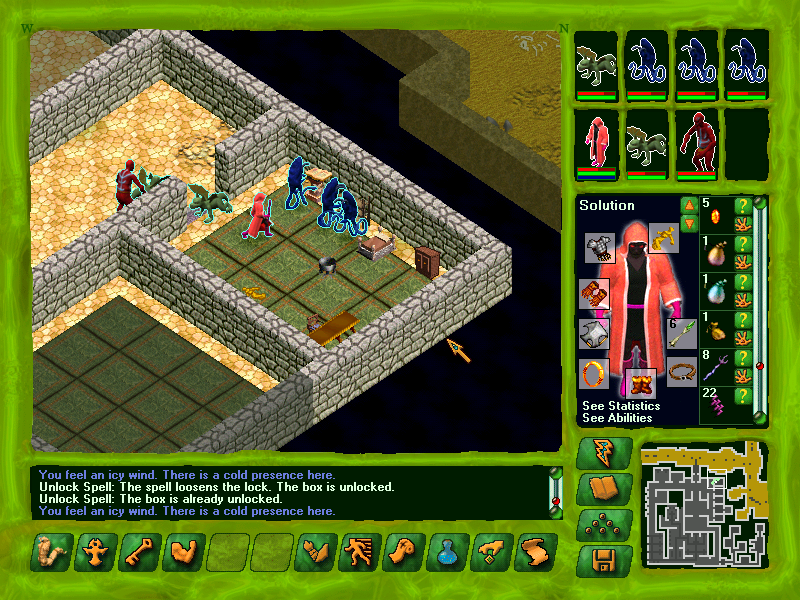
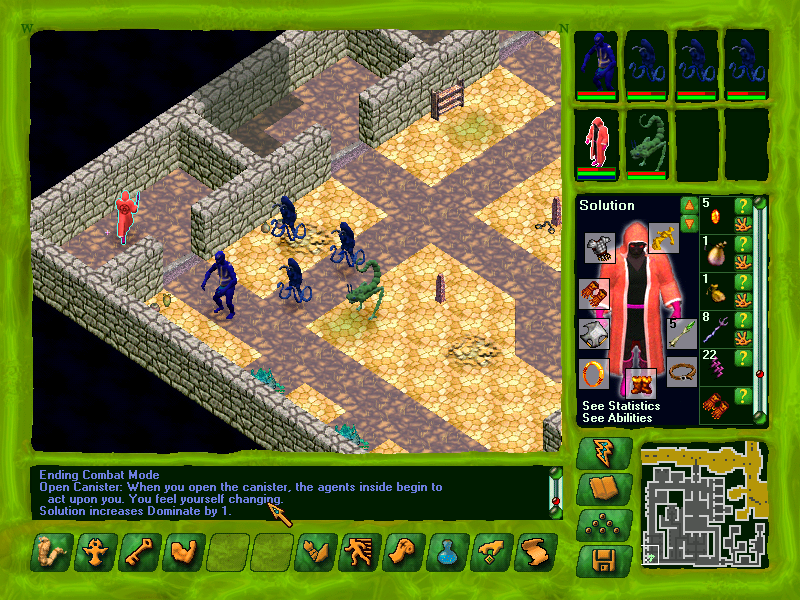
The area does merit a full exploration for experience and for this tucked away canister of "Dominate."

Game Text posted:
This cave is freezing cold! The moment you step inside, you start to shiver uncontrollably. It's not half as cold as the frozen valleys outside. It's like a deep winter.
A nearby crystal container, sheathed in ice, tells you that this workshop must be a cold storage. Shapers have developed powerful magical techniques for making things extremely cold.
It's not surprising. Shapers deal with a lot of living, once-living, or soon-to-be-Iiving substances. When not in use, they need to be kept cold. That's what places like this are for.
But cold storage is never this cold. Something must have gone wrong. That's the only way to explain why these tunnels are so painfully chilled.
There used to be firepits here, burning brightly to protect visitors from the cold. These have long been extinguished, and, even if they were lit, they wouldn't be sufficient to protect you.
This is one of the most dangerous environmental damage zones. We'll see the most dangerous soon. I hope you're excited! I sure am.
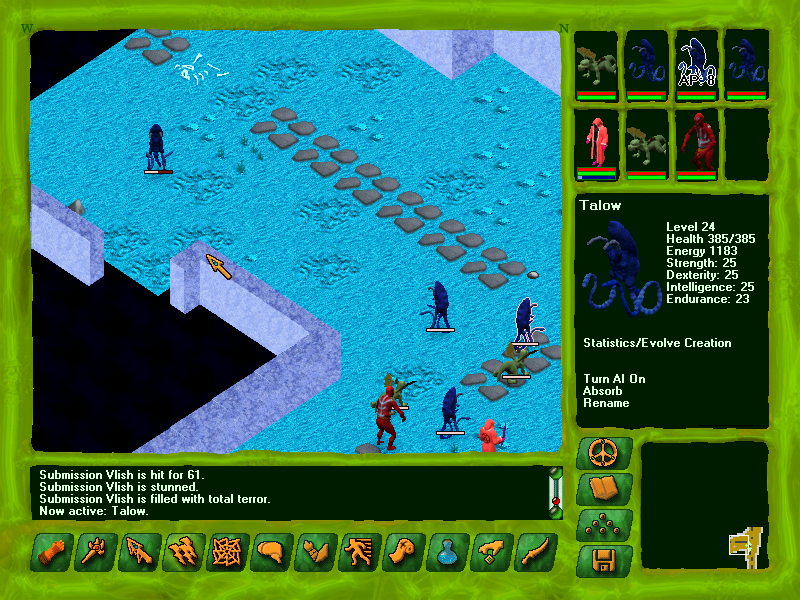
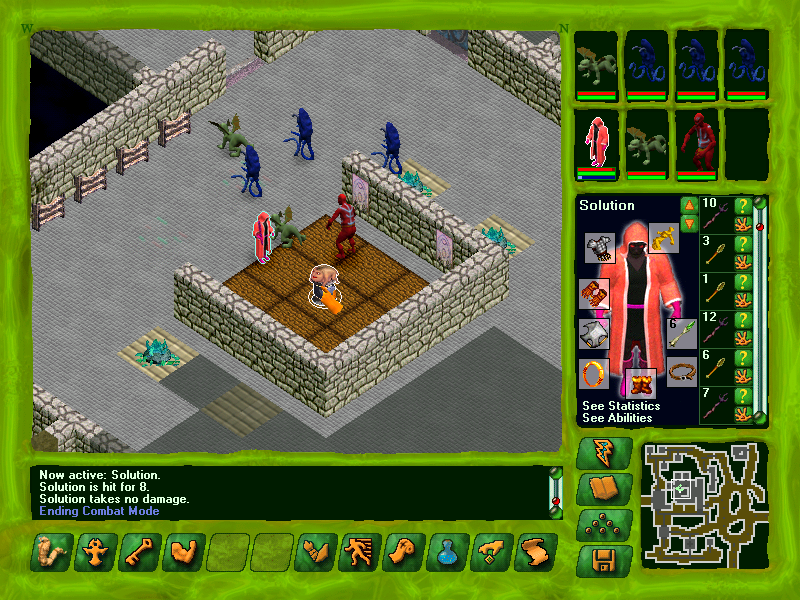
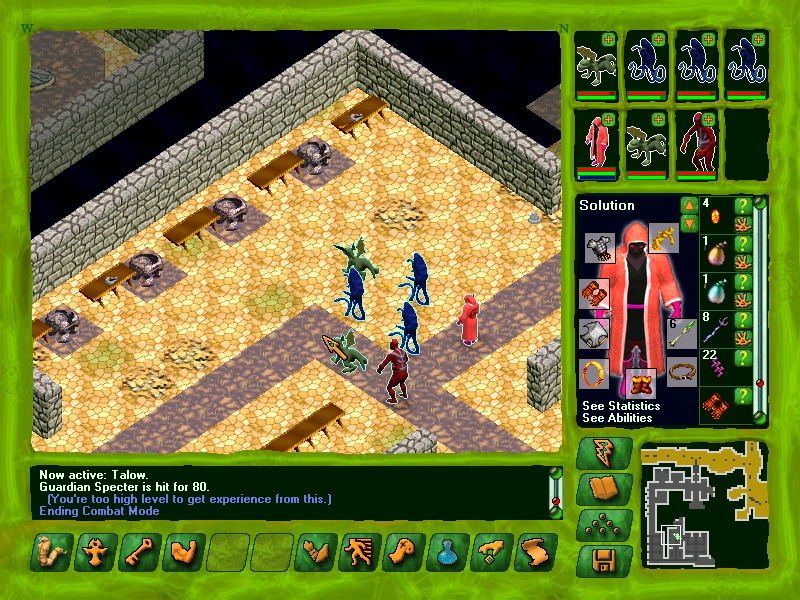
It's a good idea to enter combat mode and remain in it for most of your exploration of this zone. I only exited combat in order to interact with levers and containers, which otherwise would consume Solution's AP and make this process much more tedious.
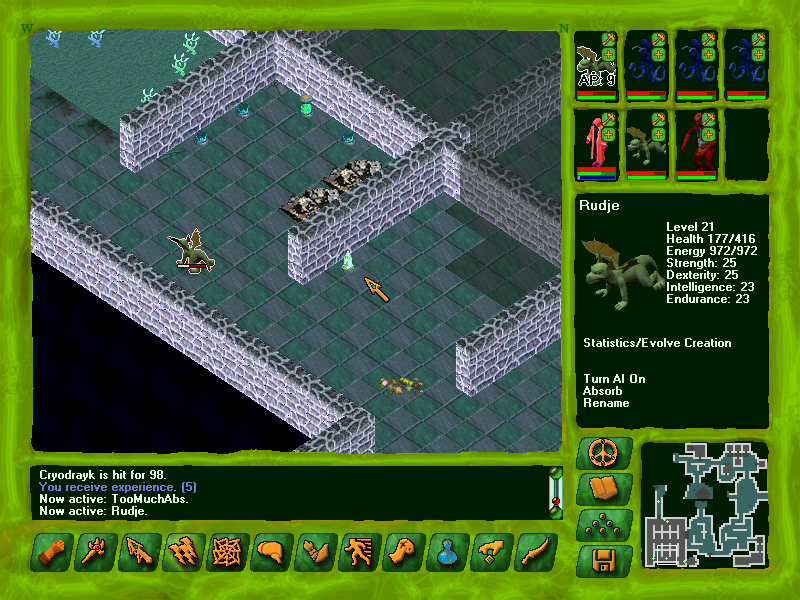
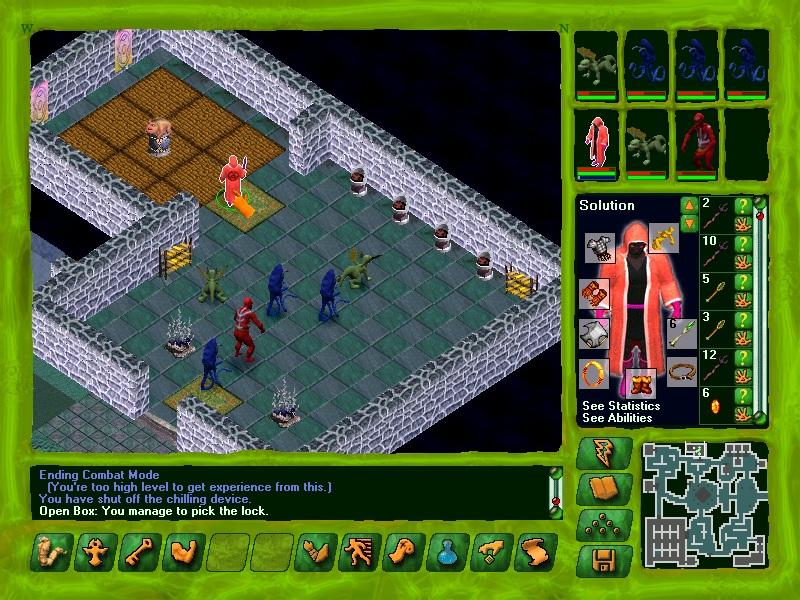
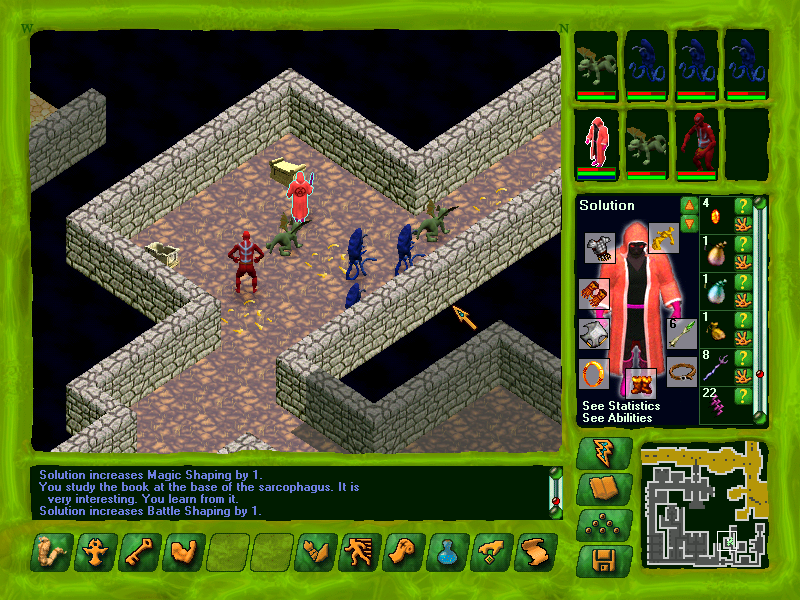
There are rogue cryodrayks all over the workshop. They're mobile walls of HP, but still susceptible to the terror vlish's fear effect.
Epsilon got to punch something to death! Unfortunately, battle creations are a bad pick for this area, as their resistance to magic damage is poor.

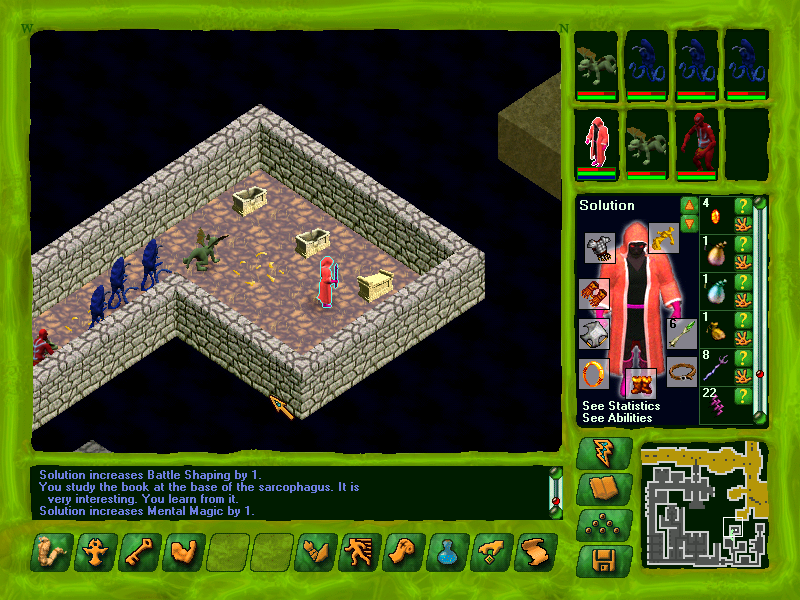
There really is a lot of good loot here, but as you've seen, you're going to end up with a mountain of consumables and vendor trash. Restoration pods, restoration spores, spore batons, jewel wands, and reaper thorns are really the only things that merit being picked up.
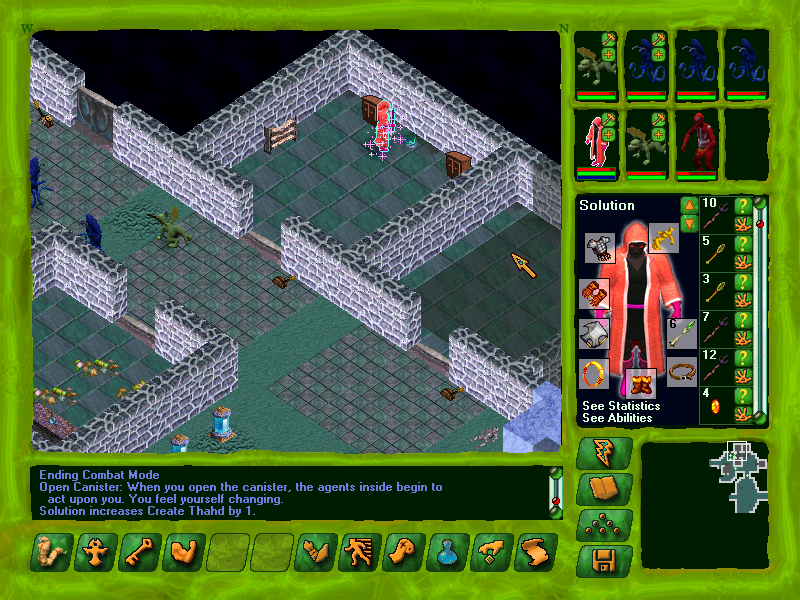
You can find a canister of "Create Thahd" up here. Seems a little late in the game to be making any type of thahd. Charged thahds just aren't helpful now.
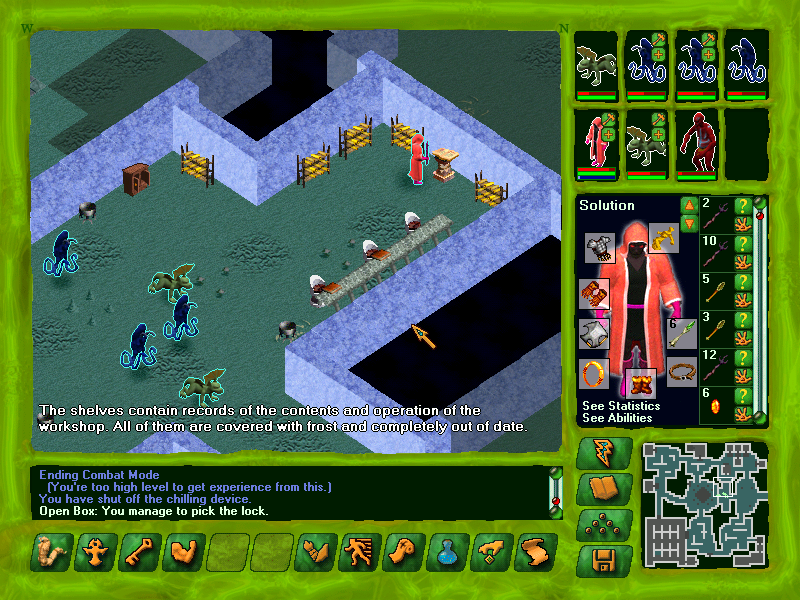
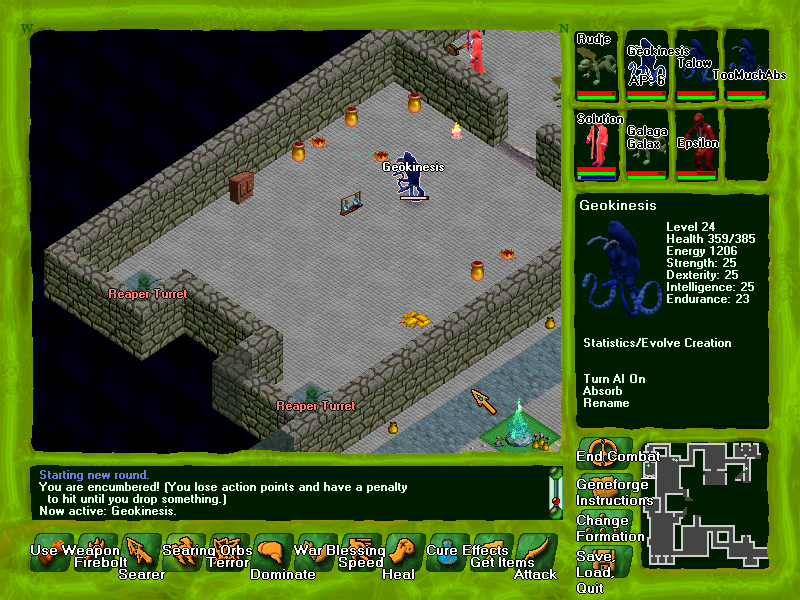
 This servant mind is still alive. It must have been bred specifically to withstand cold. However, the cold has been very cruel to it. It is covered with frost, and it seems barely able to think.
 "Shaper... I... cold... cold. I... cold."
"I need your assistance, mind." "I... cold... cold." That seems to be all it can say. "I need you to turn off the cold." "Cold... cold. So cold... cold." That seems to be all it can say. (Leave it.) As you walk away, you hear it say, "I cold... cold. So cold... cold."So if the mind can't bring this place back to a reasonable chill, what can we do?
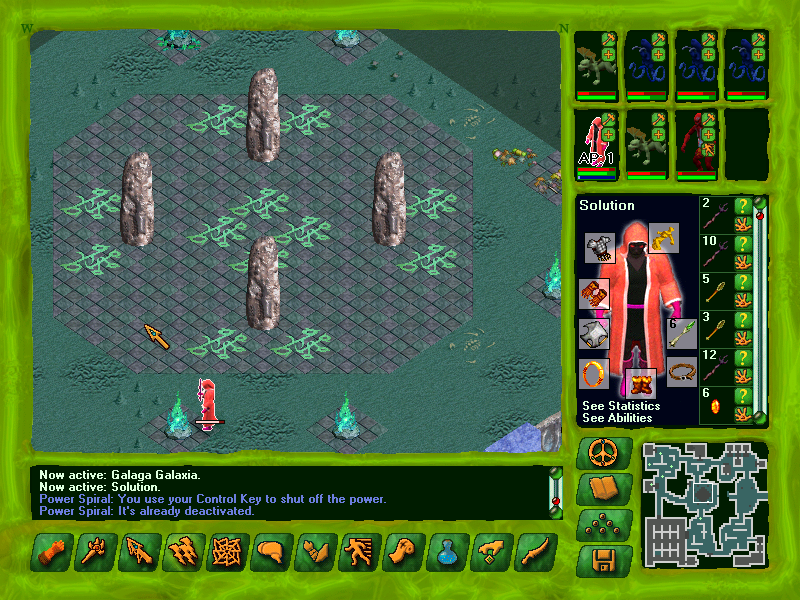
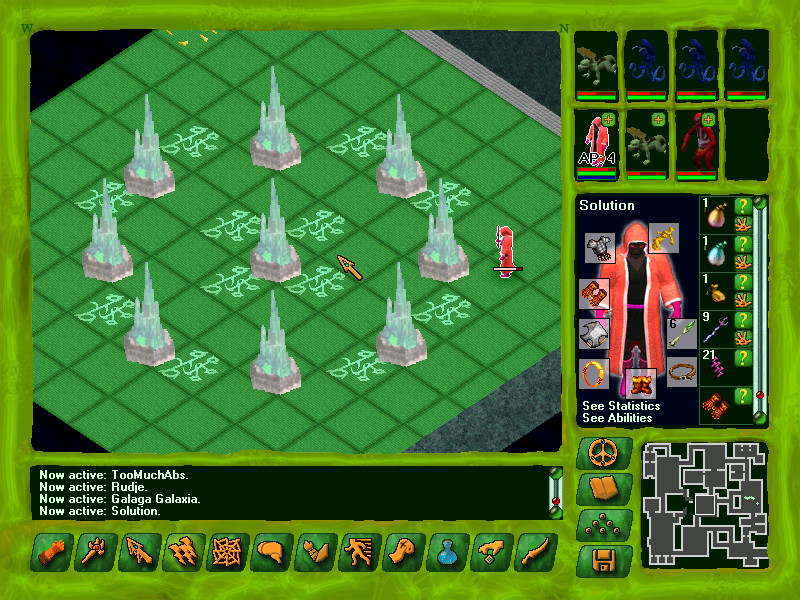
Game Text posted:
This is the central chamber of the workshop. This is where the magical engine produces the overpowering cold that has been sapping your strength since you came inside.
There is a ring of power spirals around the outside of the device. They pump magical energy into the stone circle in the middle, which, in turn, chills the stone pillars. The pillars are so cold that they suck the warmth from anything nearby.
Two of the power spirals have exploded. They must have been unable to withstand the drain on the system. The other spirals are barely able to keep up with the demands. The system will fail someday, but not for quite a while.
If you enter this chamber, the effects of the cold on you will increase dramatically.
If you have the control rod, you can use it to easily deactivate the crystal spirals in this room, which ends the ongoing environmental damage and allows you to speak with the servant mind. I forgot about this during my run and piddled my way all the way around the zone before returning here and shutting them off. Don't be me!
If you don't have the control rod, you'll either need a good mechanics score or a willingness to detonate crystals and run away. I recommend doing all this in combat mode while hasted and unencumbered in order to minimize damage.
There really is just stuff everywhere in these levels. There's much more vendor trash then there is money in the game.
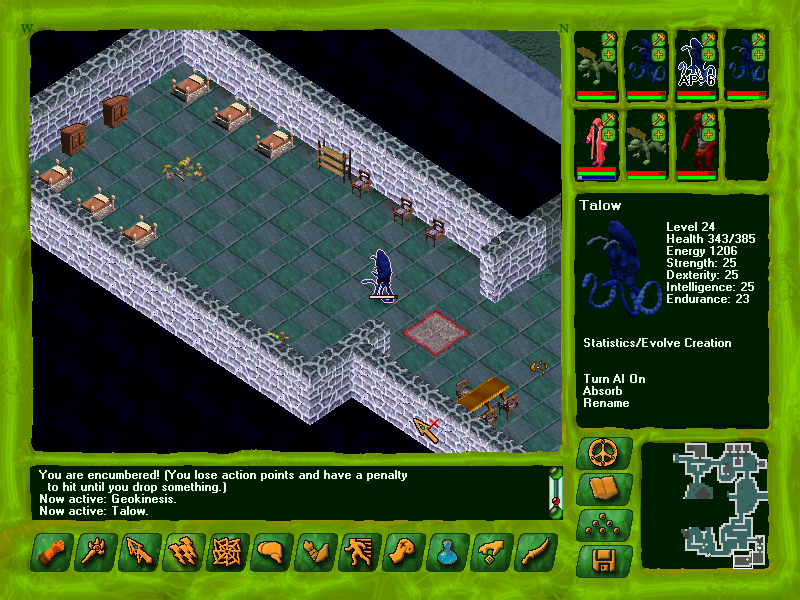
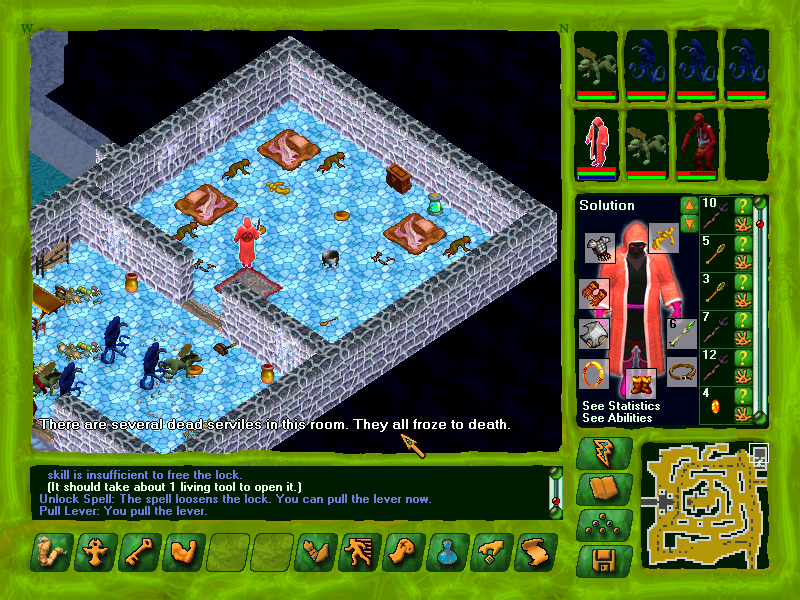
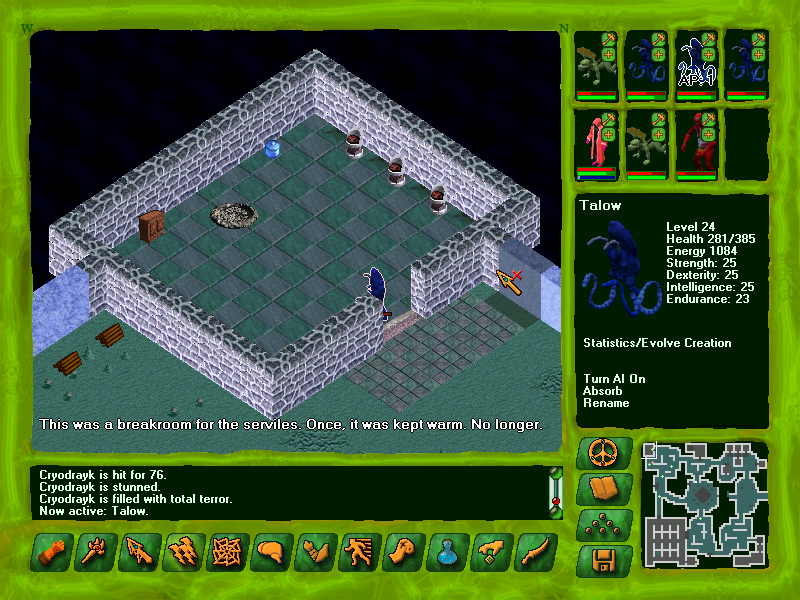
Game Text posted:
These rooms were servile quarters. They were built to provide a warm respite from the cold. However, the overpowering chill of the workshop now easily penetrates back here. Any serviles who tried to live here wouldn't last long.
In this storage area to the southwest, you can heal up with crystal lattices, examine tools the Shapers stored back here, and grab a canister of "Healing Craft." Now that's actually a good reward!
Crystal pots are important. Always give them a look.
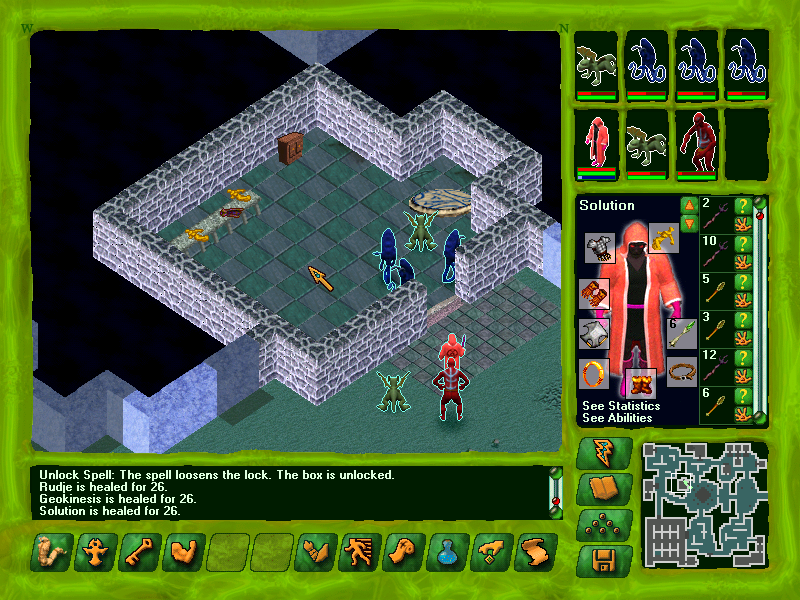
I wasn't lying about circling the entire area first. Here you can get a decent look at the core of the deadly refrigeration station.
Game Text posted:
You have completely cut off the device's power. There is an immediate change. The stones are still incredibly cold, and they will keep this region frigid for some time.
However, this area is now only icy, as opposed to damaging. Walking through this chamber, in particular, will now be much safer.

With that done, we can walk right through this door and have a quick shot at the entrance. We're not done here yet, though.
Game Text posted:
This book is an inventory of everything stored here. It ends with a long list of hastily written entries. When the island was Barred, everything of value was hauled out as quickly as possible, probably to try to get the stuff to safety before it spoiled.
There are two interesting entries at the end:
"Workshop set to Low Cool. This should preserve remaining supplies until our return." The current cold setting is nothing like Low Cool. It must have changed recently.
"Some supplies of value have been left at request of Corata. One shaped blade and one robe of value. Sealed in southern chambers."
 "Shaper, I am Mind Stree. I am eager to serve you." "Why was it so cold in here?"
 "I made it so. The humans, the outsider, they came in and looted, and it scared me. I made the guardians, and I made it cold, so cold they fled. But then I was cold. So cold." "What guardians?"
 "The drayks. I woke them up. But they were smart, and wouldn't listen to me. But as long as they were here to protect, it was all right. If any are rogue now, I am sure they will obey a Shaper right away!" "What is left in the workshop?" "Very little. All of value was taken. Corata left some things. He wanted me to protect them. But the rest of value was mostly hauled out." "Who was Corata?"
 "One of the greatest, wisest Shapers on the island. He controlled the supplies. I answered to him. He was sure he would be returning soon and wanted supplies left for him.
"He never came, though. I am sad."
"Can I have the supplies Corata left?" "Oh, I couldn't lower the defenses for you, Shaper. That would be wrong. Corata told me those things were only for him." "Oh, all right. Nevermind."or: "Corata is long dead, and I am here. As a Shaper, I command you to let me have those supplies."
"I... I... I am sorry, Shaper. You are right, of course." It closes its eyes for a moment. "You will find it easier to get those items now." "What do you know about why the island was abandoned?" "Oh, I am not told things like that. I just keep track of vats and goo and such. I don't know anything about politics. I am just a humble and chilly servant mind." "That is all I need." "Yes, Shaper. Thank you, Shaper."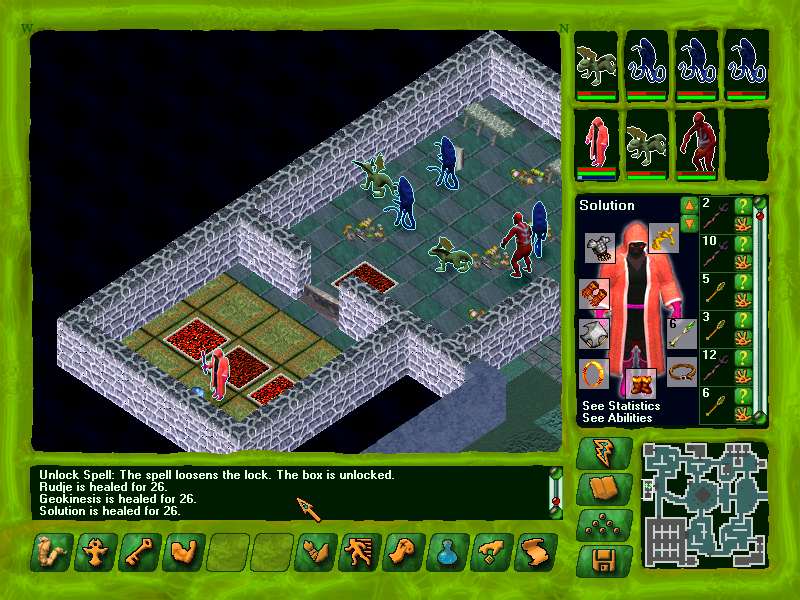
Thanks to Stree, we can loot this western chamber and safely cross the hot platforms.
Game Text posted:
This small box only contains one item. It has been placed carefully on a pillow of velvet. It's about a foot long and carefully carved from ebony. You recognize it immediately.
It's an entry baton. You've seen them before, but a lowly apprentice was never trusted to actually hold one. They serve both as a key and as a badge of honor. They are used to gain access to secure areas.
You leave it here. It is identical to the one you already own.
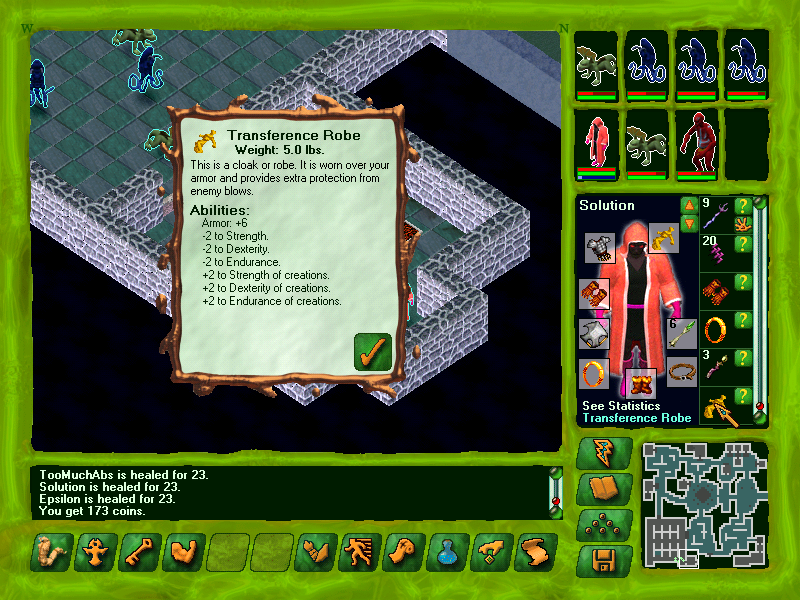
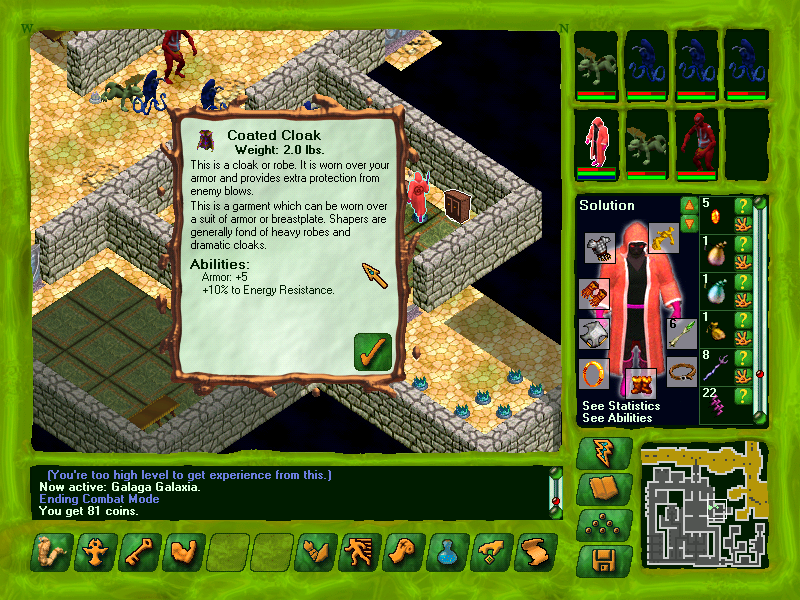
This is a pretty nice robe for Shapers! This is the robe referred to in the records.
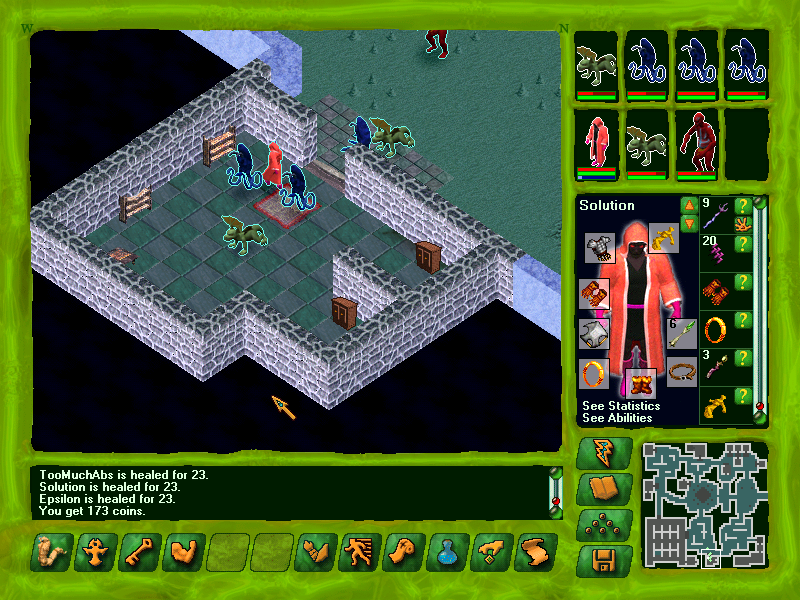
There's a Shaped blade in here, like the records said. And that's basically all there is to this zone!
So let's return to the Power Station.

Last time, we left Mind Azzo alone because we didn't have mind nutrients. This time, we do! Let's feed the servant mind.
Game Text posted:
It is a slow, messy job. The creature starts out completely immobile. You need to scoop the food into its mouth, one tiny globule at a time. Eventually you are able to revive it enough for it to eat on its own.
Finally, it speaks. Its voice is weak, but you are able to understand it. "I am happy, Shaper. I can serve again. I am Mind Azzo. I am the controller of the power station in the Shaper absence.
"I did not have the strength to withstand the loss of food. Worse, rogues have stripped away my crystals. I am weak and unable to control the station without them."
Having recently force fed an adult cat, I must imagine it's easier to do this when the creature you're trying to help isn't actively trying to resist (however feeble that resistance may be).
"What sort of rogues are in this area?" "Inside the station, there are the shades. The Shapers made them to watch over and run the station. They were immune to the dangerous energies inside. But they are mercurial creatures, and they needed me to control them."Now the control is lost, and I cannot regain it."
"How many shades are left?" "Your people left machinery to make new shades to replace the ones who dissolved. So there are many." Such automatic, magical devices for making creations have been forbidden by the Shaper Council for centuries. Such devices, if left unwatched, can cause much carnage. "I have another question." Mind Azzo is fully awake and alert, now. "Yes. Shaper? What do you wish?" There are four sockets at the base of the creature's stone berth. They are all empty. "Your crystals were stolen?" "They were taken by mischievous shades, and hidden. They did not like my influence, so they acted to remove it. Without them, I cannot control anything. Including, I should mention, the doors to nearby supply chambers."The missing crystals are black, multifaceted, and as long as your forearm. If you could replace them in my base, I could be of much greater aid to you."
"Where are the crystals?" "I do not know. All I know is they are all nearby. The shades could not carry them far away." "What sort of things do you control?" "I control the defenses and shade spawner in the station. I control the doors. I control the conduits through which the magical power flows to and from the stones."I cannot make power spirals though, or repair them. That requires skilled artisans, of your kind."
"That is all I require of you." (Leave) "Yes, Shaper. I will be here when you return. I hope."Well, on that note, let's head west to the Power Core.

Game Text posted:
Only the largest and most important research centers have their own power stations. Sucia Island was one of the few that received this level of support.
Shaper experiments require a huge amount of energy, both mundane and magical. It is stored in specially created crystal batteries, usually called power spirals. Some of these spirals are small, and some are quite huge.
These devices are charged in installations like this one. Usually a steam vent or other volcanic feature is capped, and massive magical engines absorb and channel the heat, storing it for Shaper use.
Of course, hauling in the huge crystals, tunneling the energy into them, and hauling them out again is incredibly tiring and dangerous work. That is why it is left almost exclusively to serviles.
These halls are dark, steamy, and hot. The magical energy hanging in the air makes your skin itch and your stomach turn. This level of energy is both unusual and unsafe.
The entry hall is filled with old logs. Serviles would use these logs to roll the massive power spirals in and out.
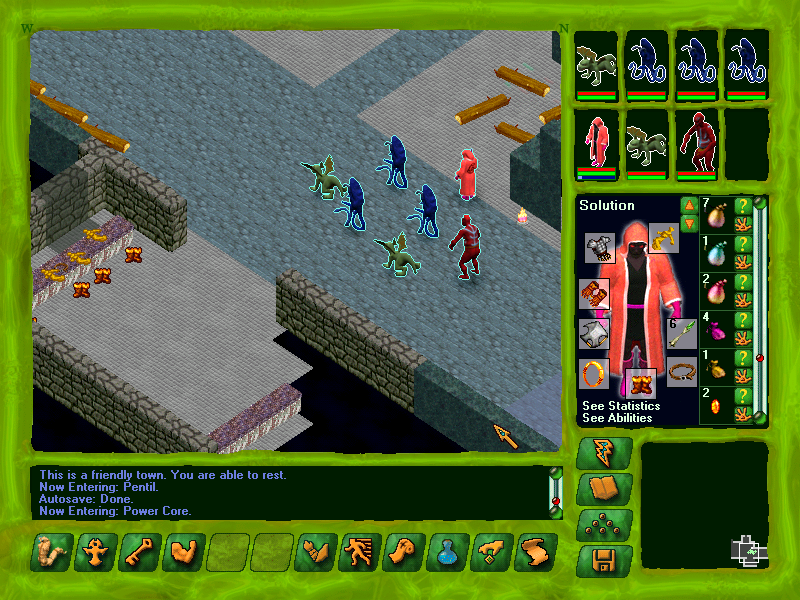
The Power Core inflicts the highest environmental damage of any area. It sucks! The only upside is that the shades here aren't that bad (at least they're not when you've got an endgame party). Just like the other areas, you should stay in combat mode while exploring around the Power Core.
The entry way has grounded equipment that can help with your damage resistance if you're underequipped.
Game Text posted:
Drained and damaged power spirals were brought to this room, where they were repaired and primed to receive energy.
In some areas, bright glowing lines criss-cross the floor. Long crystal fibers, set in the stone, carry energy from the core to the spirals. It should be safe to walk on those sections of floor. The Shapers made them to be stable.
You hear a loud, strange keening echoing through the halls. It doesn't sound like part of the machinery. You must not be alone in here. The Shapers may have left defenders or workers.
Thanks, Galaga Galaxia! The drayks get to do some real work in this zone.
Here's one of Azzo's crystals.
Game Text posted:
The small box contains a stone. It is shaped like a long crystal, but it is black, like onyx. When you watch it, you think you can see tiny flashes of light under its surface. It is warm to the touch.
It's not very heavy. You put it into your pack.
Mine shades are just everywhere. They have multi-target ranged attacks. Fortunately, once you prune their numbers here, there's little risk of ever being overwhelmed by shades in the Core.
The control key will let you shut off the power spirals. Otherwise, you'll have to rely on your mechanics score. Shut down every spiral if you can, as this will shut off the spawner platforms.
North of this spiral crystal room is a smaller room, the apothecary, which I failed to screencap:
Game Text posted:
The power core has a large and well stocked apothecary. The dangerous and unpleasant environs must have been wearing on the serviles here. Fortunately, the Shapers cared for their creations. To some extent.
These days, serviles are generally not put to work in hostile environments like this. Back then, the Shapers were not as enlightened as now.
Game Text posted:
This room was where the servile bureaucrats and record keepers did their important work.
You notice that the south door has some words carved into it: "High Security Storage - No entry without Shaper clearance and protection!"
Reaper turrets mean good ammo! This room has a grounding vest, which also grants energy resistance to your creations.

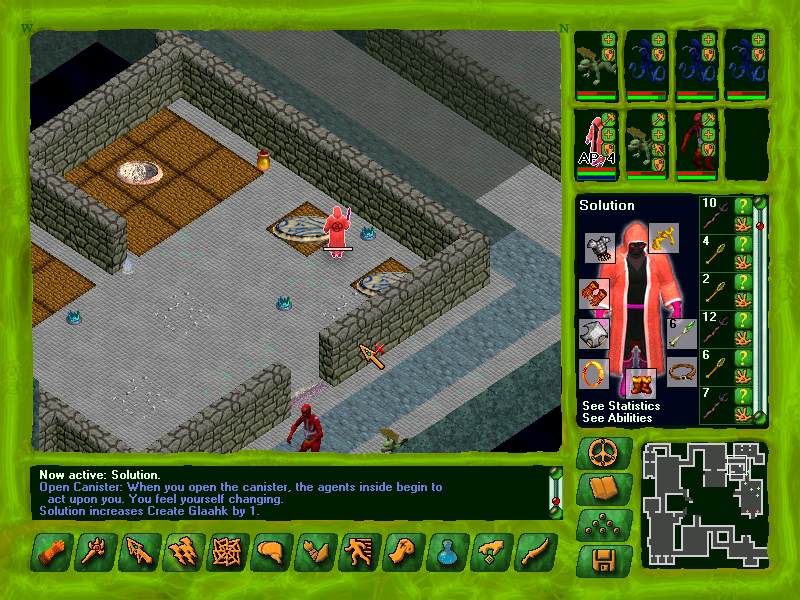
There's a canister of "Create Glaahk" here. Ur-glaahks are quite good!
These turrets are just an annoyance.

Game Text posted:
Any sort of device for the automatic making of creations without direct Shaper supervision is illegal. It has been this way for many years. This device predates such directives.
The power spirals in this room are conduits which channel the energy from the core and create new shades. That is why there are defenders for the core even after centuries of abandonment.
Until the spawners are deactivated, the core will always be very dangerous.
Keep shutting down the crystal spirals.
This area is great for more backstory on the changes the Shapers implemented between Sucia Island's Barring and the present. It gives the player more context on what modern Shapers are like versus what the Sholai encountered here, and provides some motivation for resisting both Goettsch and Trajkov.
Goettsch doesn't represent all Shapers; he was marginalized and dumped into middle management because he wasn't terribly smart and had a bad attitude. Trajkov is seeing the outcomes of old attitudes that have changed (and whose changes are reinforced with regulation) and judging the Shapers based on events that happened 200 or more years ago. Over the intervening centuries, the Shapers have managed to become more humane and more responsible.
There's another crystal here.
As you walk through one of the corridors approaching this core, you'll receive this message:
Game Text posted:
This corridor is very hot, and the ambient, uncontrolled magical energy is making you feel ill. You are getting close to the power core. That is an extremely dangerous place to be.
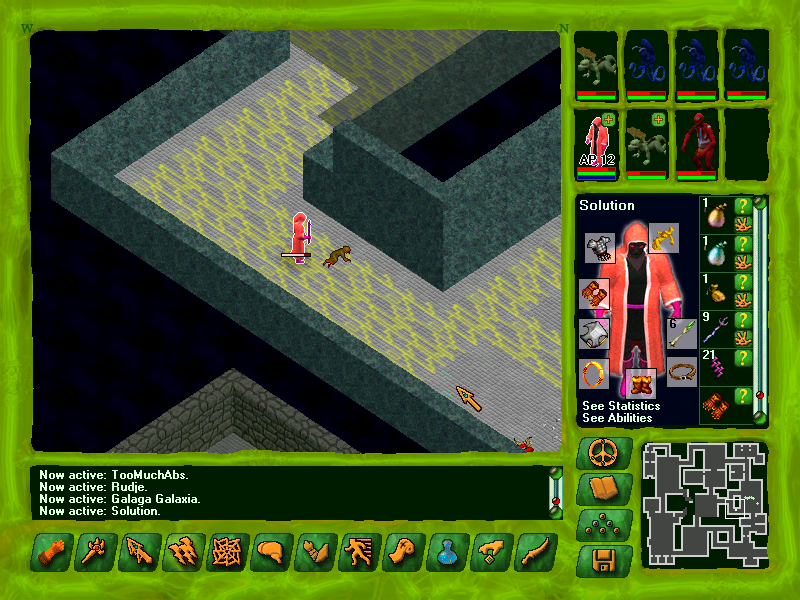
Game Text posted:
This servile was running down this corridor, trying to get away from the deadly central core before it killed him.
He didn't make it.
You look closely, trying to figure out what the poor creature risked his life for. You soon find out. He clenches a metal key in his gloved, stone hand. You take it.
The third crystal is here. Now you can use the key to open the shortcut back to the Power Core entrance! Let's blow this power spiral stand.
 You place your crystals into the holes at the base. As each one enters the slot, Mind A220 seems noticeably more alert.
 "Thank you, Shaper. I am now partially restored."
"Have you been restored enough to do anything?" "I am sorry, Shaper. I cannot do anything until I have all four crystals." Something about its voice makes you think it is not telling the whole truth. It will not meet your gaze. "You are bound to serve me. If there is anything you can do, do it now." It looks miserable. "I am sorry, Shaper. I want so much to be restored. I wanted to keep you having a reason to help me. Please forgive me. There is a way I can help you." It closes its eyes. You hear clicks from the nearby doors. "Now you can loot my home. Please continue to help me. I beg you."
Leadership lets us intimidate Azzo into rewarding us even if we've only restored 3 of 4 crystals. The last crystal is actually in this area, but let's take our loot first.
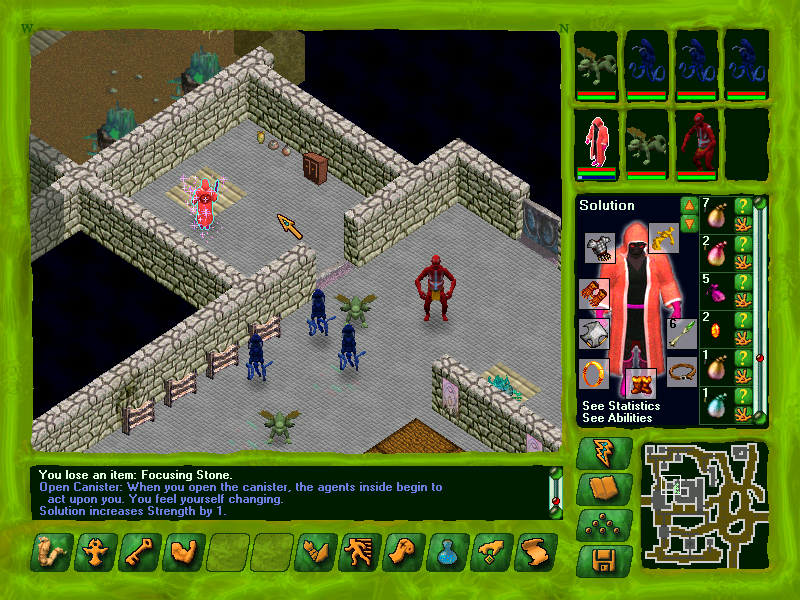
Heck yeah, strength!
The cabinet has one of these babies.
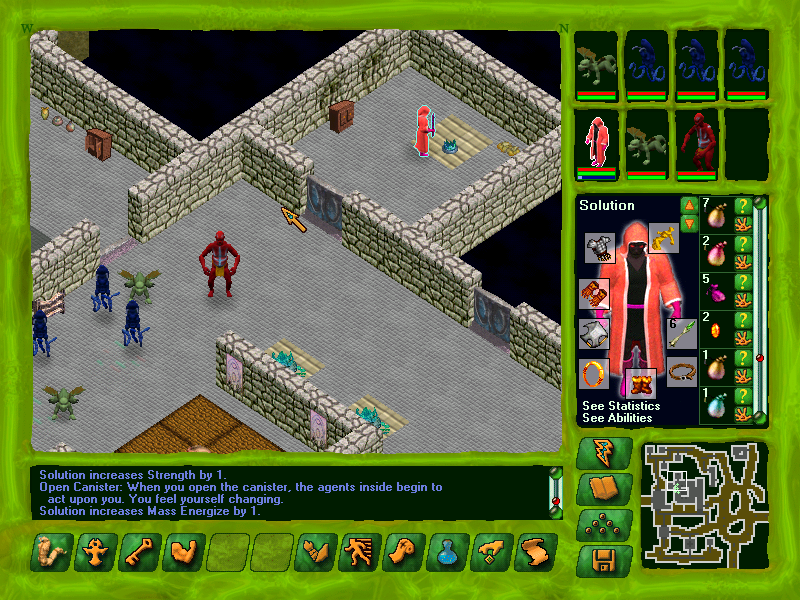
Mass energize is a really nice spell that you can only use outside of combat.
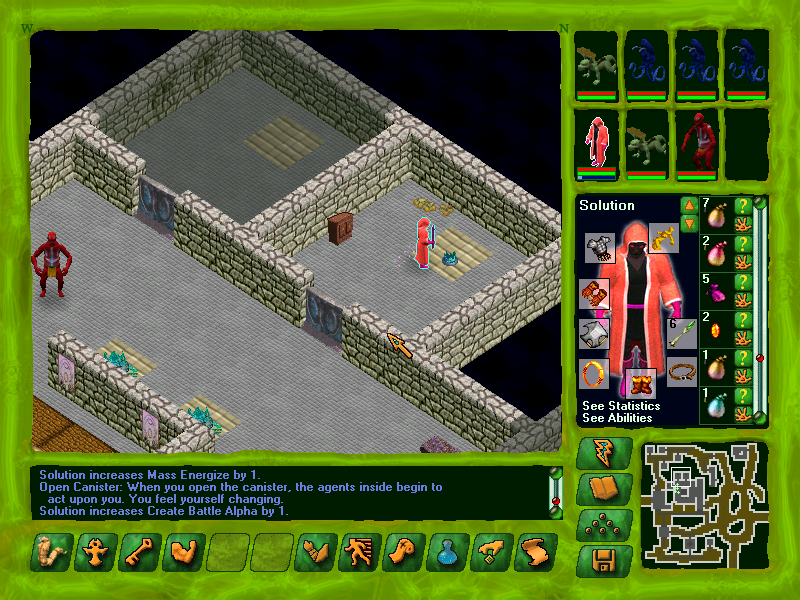
Another canister of "Create Battle Alpha"! This is something of a misnomer, as these canisters will also unlock Betas. Sadly, you can't get Gammas.
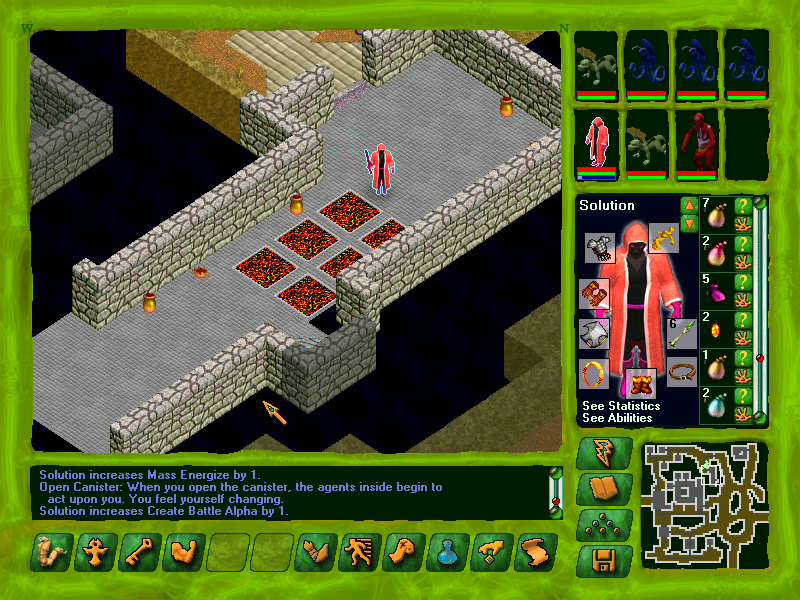
Sometimes you might suffer on the road of righteousness. As usual, I strongly advise using combat mode to pass these tiles. Roid yourself up with haste and shield while you're at it.
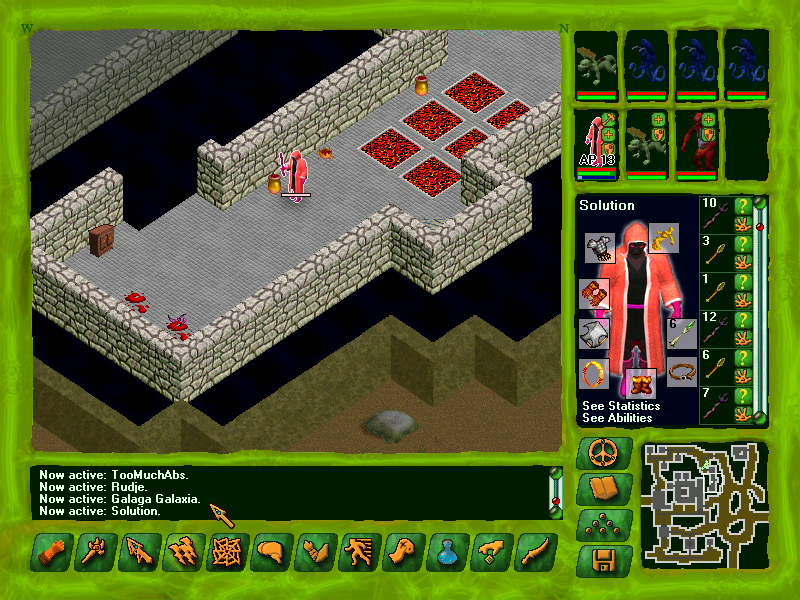
Unsurprisingly, there are turrets protecting this last crystal. Those shades were real bastards. Or perhaps this is a spare!
 "I have found some of your crystals." (Place them in the base.)
The dialogue doesn't change much, so I've omitted some repetitive bits.
"Thank you, Shaper. I am now restored. One moment." It closes its eyes. You hear clicks from the nearby doors. "I have deactivated the shade spawner inside. There will now be less chaos. I will begin repairs."
Since we killed Trajkov, most Sholai will immediately turn hostile.
Game Text posted:
This is an old Shaper obelisk. It is still legible:
Low Density Laboratory
PERMANENTLY SEALED! DO NOT ENTER!
We enter through two locked doors.

Game Text posted:
The sight that greets you in the entry hall is morbid and unsurprising. Everything inside is fairly intact, just as it was when the doors were closed and locked.
There are bones jumbled everywhere. They are the remains of the people in here when the place was sealed. They ran to the exit, found that they were trapped, and then were attacked by whatever horror was created.
Everything is perfectly still and quiet. It is also dark. You notice that someone has smashed all of the light crystals.
Fortunately, illumination isn't a real mechanic in this game.
The withered turrets flanking the doorway aren't very strong.
Ah! Friends?

This place is in rough shape.
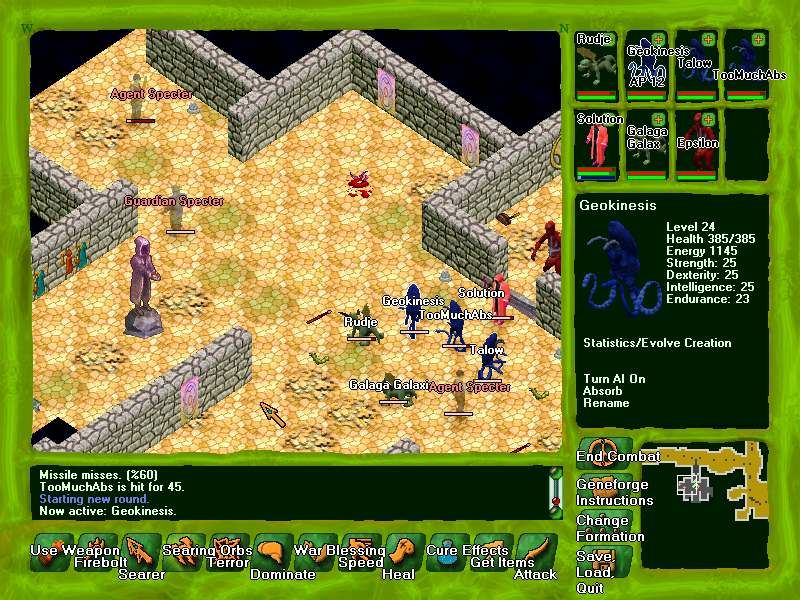
Shades have infested the whole lab, which is a bad sign.
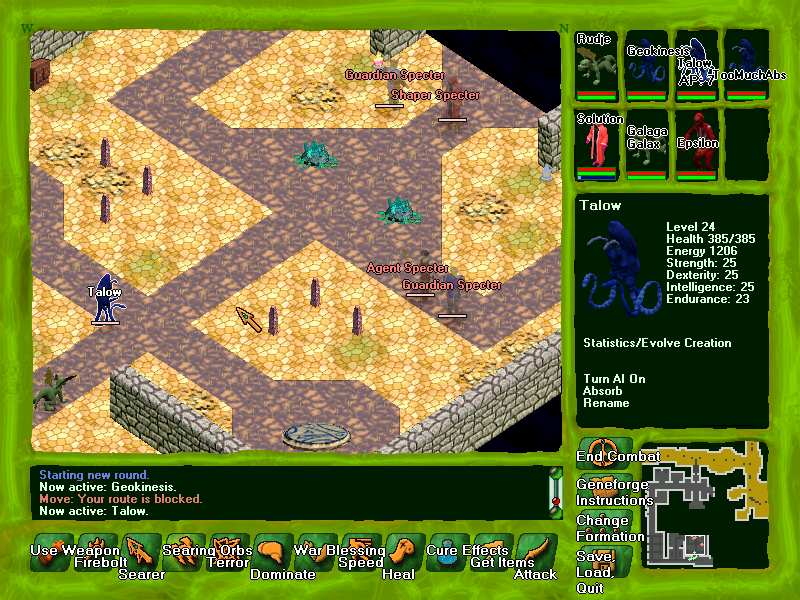
The spectral Shapers can do some serious damage, but their defenses are even lower than the Agents'.
Don't let your guard down, though, because you'll frequently be ambushed by whole squads.

A control panel? Don't mind me, I'm just pushing every (unlabeled) button. There are six switches and they control sealed doors.
Check the mortars by the lab benches for some healing items.
Game Text posted:
This was the core of this facility, where all of the most powerful and dangerous shapings took place. The sole shaping pad is surrounded by a protective stone barrier.
The chamber has been completely wrecked. The final experiment here unleashed amazing power, blasting everything around it.
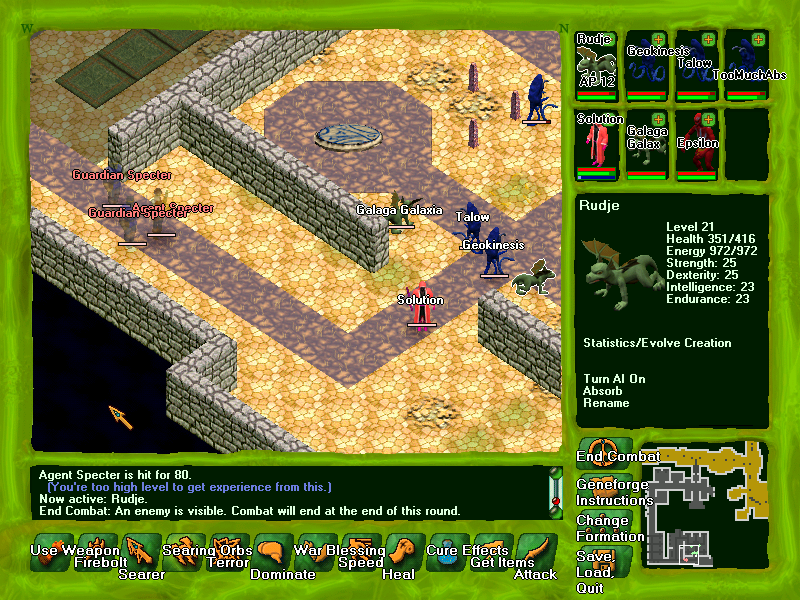
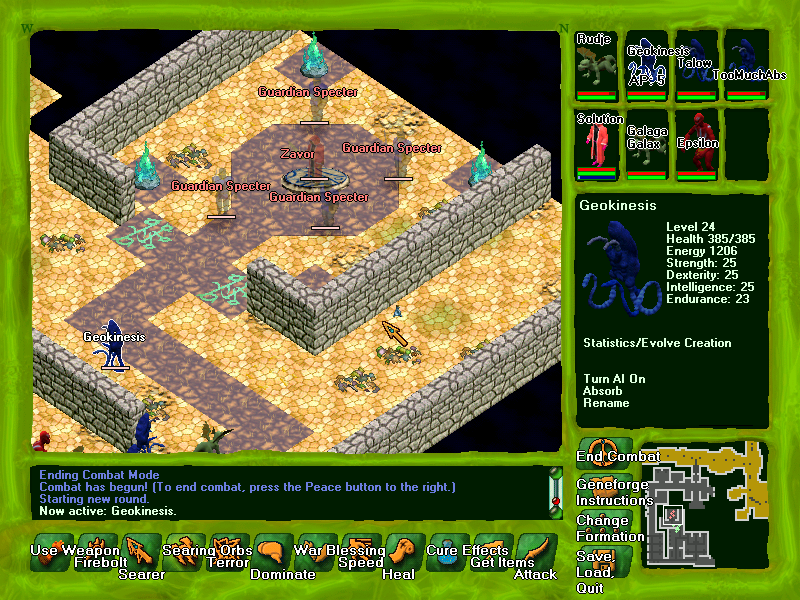
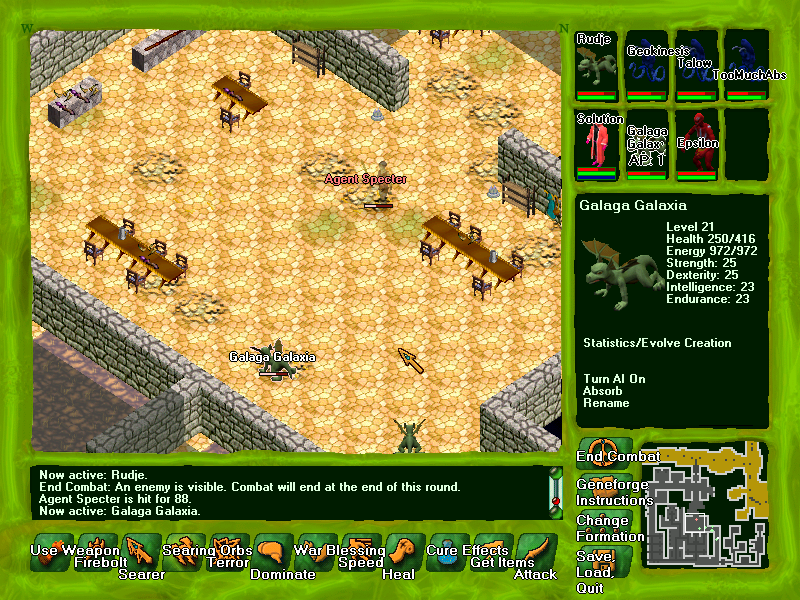
Oh boy! It's a boss fight! We lowered the stone barrier by fiddling with the control panel. We also opened up a whole lot of other doors that we haven't checked yet. (Mostly that just unleashed more shades. Oh well!)
Zavor isn't difficult at this stage. Unfortunately, by waiting so long to clear the Sealed Lab, we've really destroyed the difficulty curve. It's a shame -- this place has fabulous rewards for the brave.
The power spirals require 20 mechanics to disarm and aren't affected by the control rod. I don't think there's much point to detonating them. They take a long time to go off. I believe destroying them stops more spectral foes from spawning, but I haven't confirmed it.
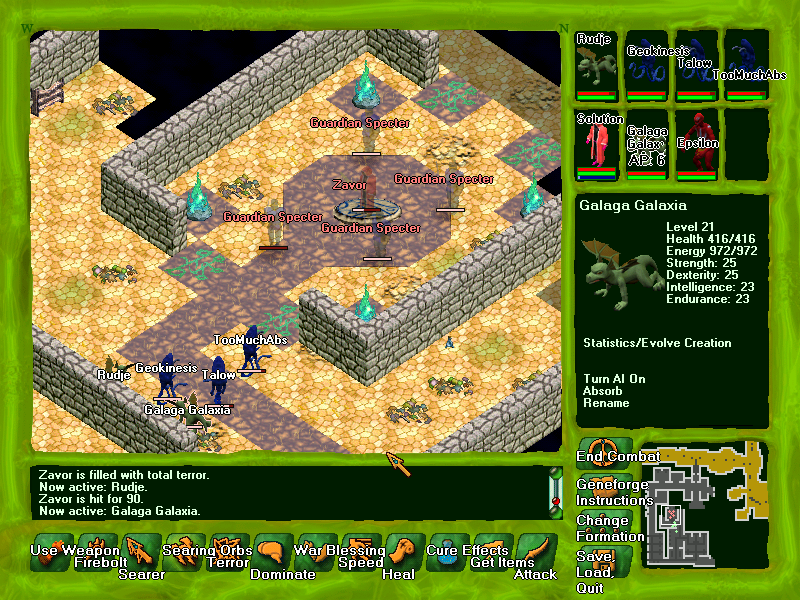
By the way, spectres are vulnerable to Terror (and to terror vlishes). Zavor runs away while we deal with his protectors.
We'll let Zavor find us instead of trying to chase him down. We have crypts to rob!
Game Text posted:
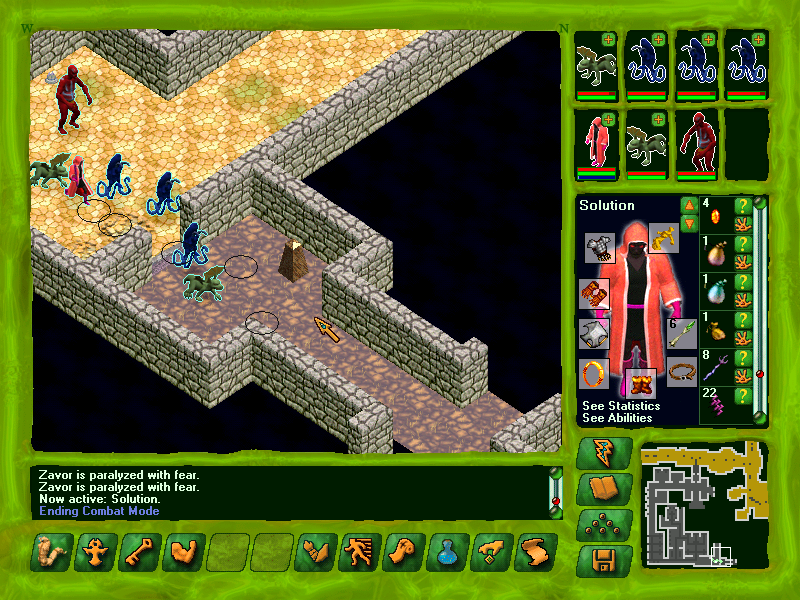
This is unusual. This research facility also had an adjacent mausoleum. Shapers don't usually like to have the dead so close to their work. It can have unpredictable results.
The moment you step inside, you begin to feel waves of involuntary panic rise within you. Something horrible is back here.
However, you also feel some greed. Shapers are always buried with tomes which describe the secrets they learned when they died. You might learn useful things in here.
Battle magic isn't half bad. Solution has actually been making good use of magic in some fights. Multi-target offensive spells can really help you thin the crowds of foes you'll sometimes encounter.
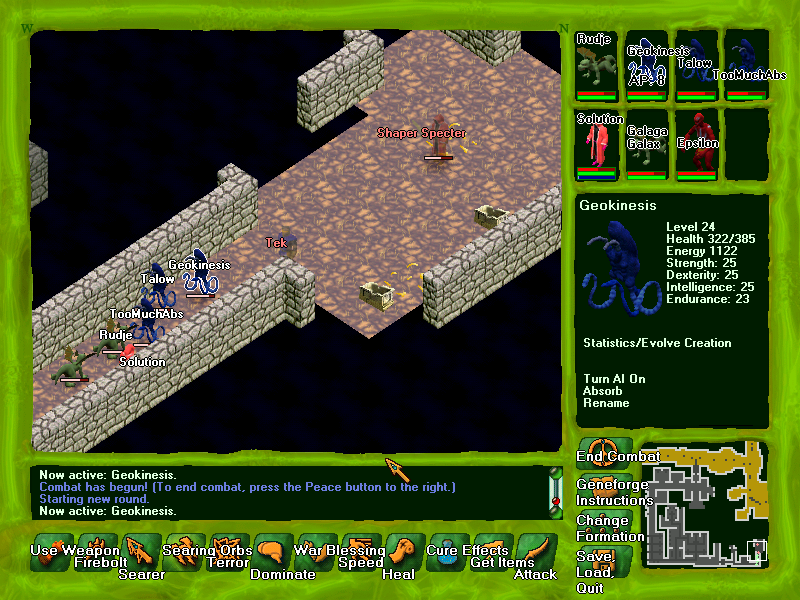
Tek would be a threat if we weren't here with our murder crew.
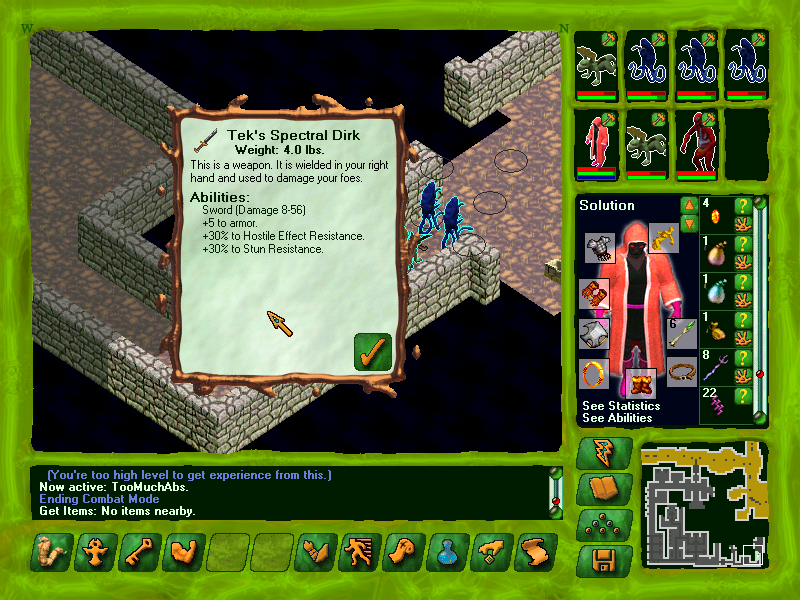
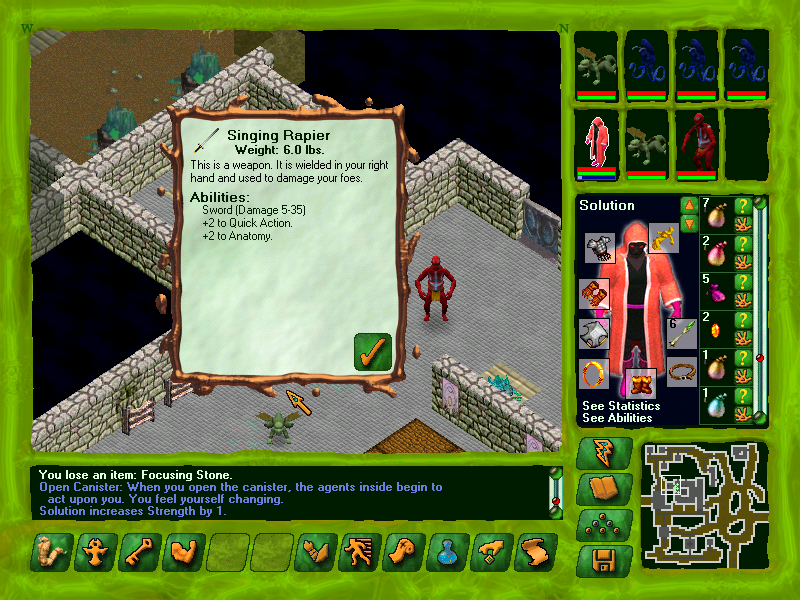
This is actually one of the best weapons in the game. Solution doesn't usually have a weapon equipped because I like to make use of offensive wands and batons, but the passive bonuses on Tek's dirk are nothing to sneeze at.
Look at that. A pile of disgustingly good, free bonuses.
The downside to coming here earlier in the game is that if you don't have the Taker amulet, dealing with the Sholai will be tough, and the swarms of spectres in here will really ruin your day.
Someone had a serious problem.
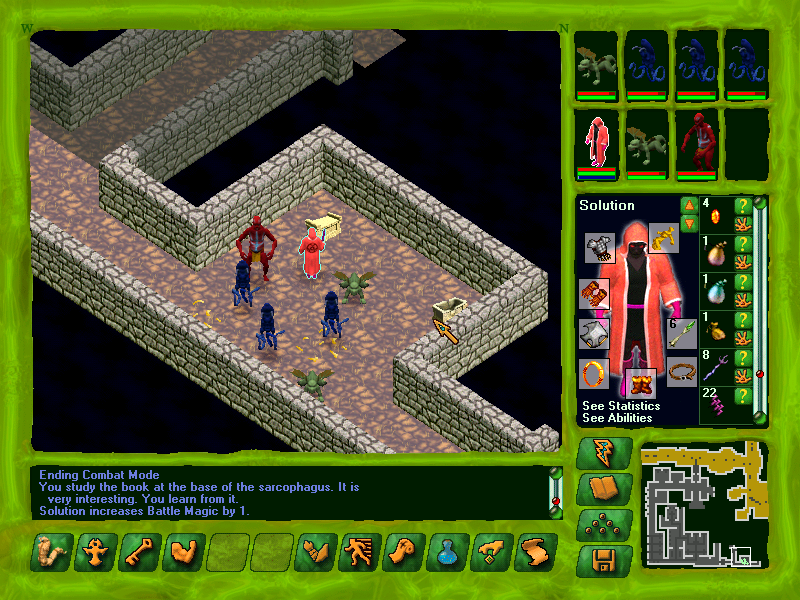
Game Text posted:
The book is a journal. It was kept by one of the head researchers here. His name was Zavor. It starts out dull but, as time passes, it gets more interesting and more incoherent. One interesting entry:
"Power leads to power. The canisters open the mind farther and farther, and the openness leads to power. My openness leads to the lands beyond, beyond the vale.
"The doubters, I will not share with them. I will pierce the one barrier the mighty Shapers cannot. The barrier of death. I will not die. What good is our power, our mighty Geneforge, if it does not keep us from death?
"Soon, the final experiment will take place. Tek and I will join with the other side forever, and then they will see.
"I have reserved one more canister for myself. I find, at times, my resolve wavers and fear seizes me. When I do, I augment myself, and it cures my doubts."
Even the Shapers weren't immune to the mind-altering effects of the canisters.
This isn't that useful now...
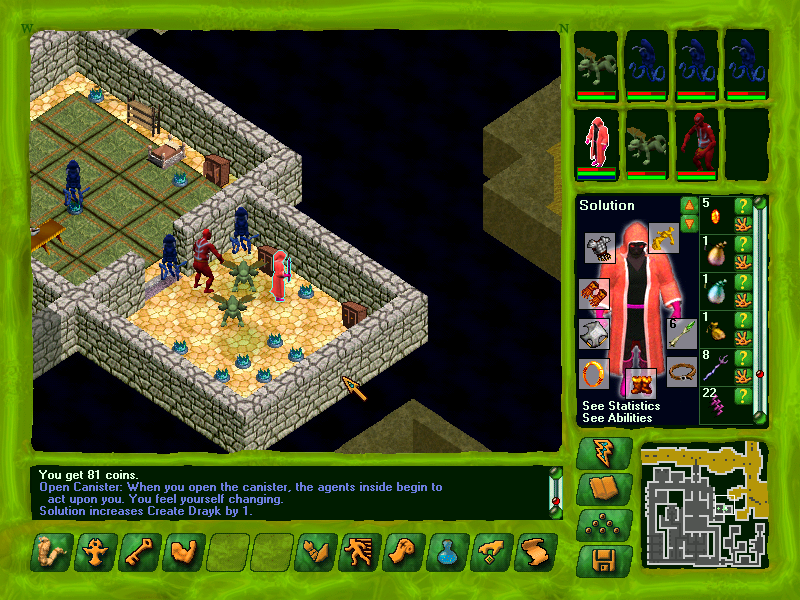
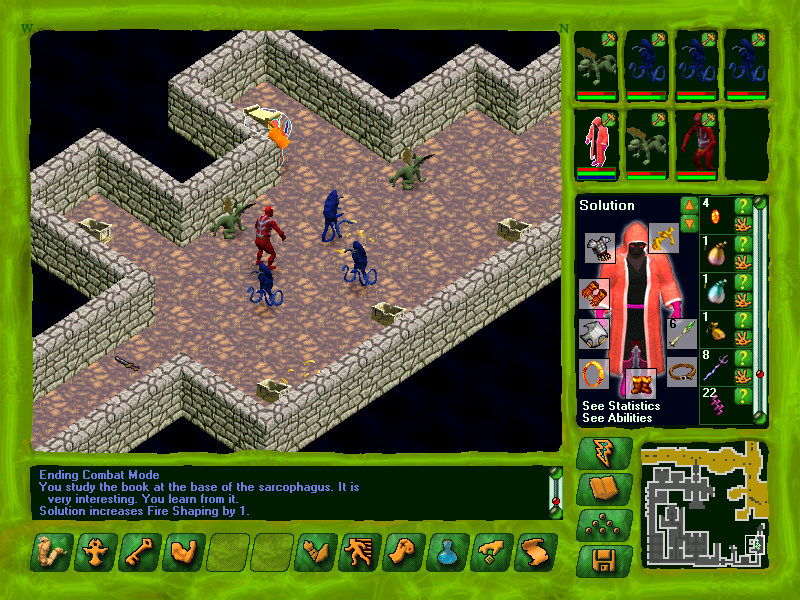
But a canister of "Create Drayk" sure is!
Game Text posted:
The book is a journal. It was kept by one of the more important research assistants. His name was Demel. Skimming through it you find an interesting entry:
"Zavor and Tek worry me more and more. First, it was the canisters. Even before they were fully tested, they had started to use them. Now they use them more and more. All we get go to them.
"Then the mausoleum, and the new experiments. Little by little, I think that they don't think that the laws apply to them. I don't care how many canisters you use. Necromancy is forbidden to us, and for good reason.
"I am sure of one thing. The moment things start to go wrong, I am through the doors. I won't die sealed in here with them."
The last entry is dated at least a year before Sucia Island was Barred. There are no mentions of the Barring anywhere, so this place must have been sealed earlier.
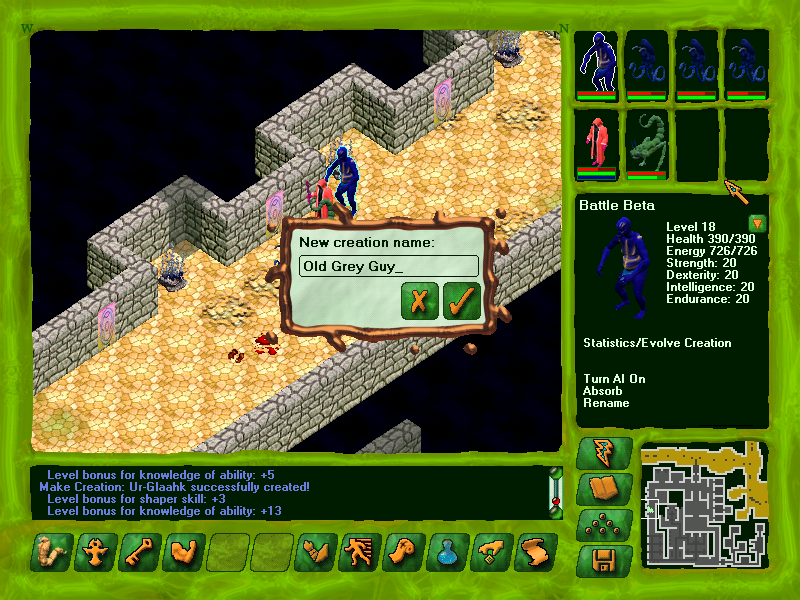
I decided it was time to check out some new creations. Meet Old Grey Guy the Battle Beta!
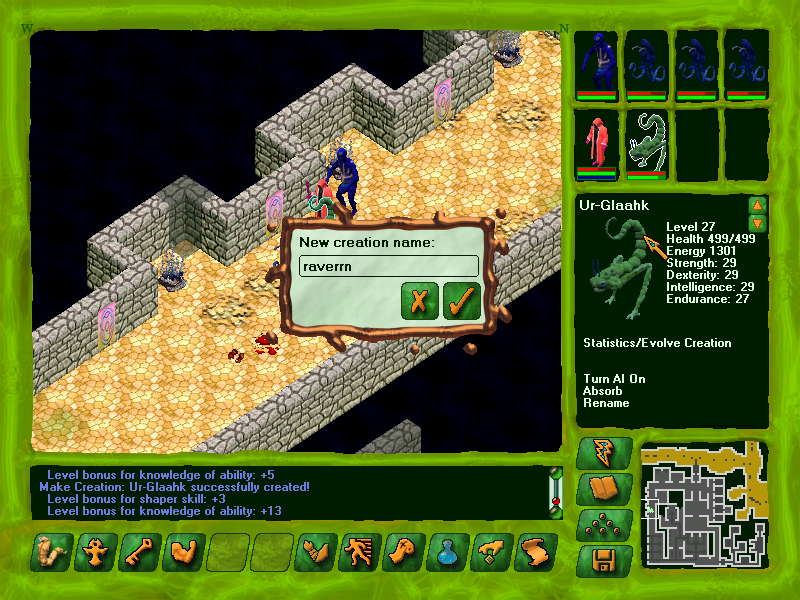
Please also give a warm welcome to raverrn the Ur-Glaahk!
The top two unsealed doors have enemies behind them.
The third door has a canister of "Dominate."
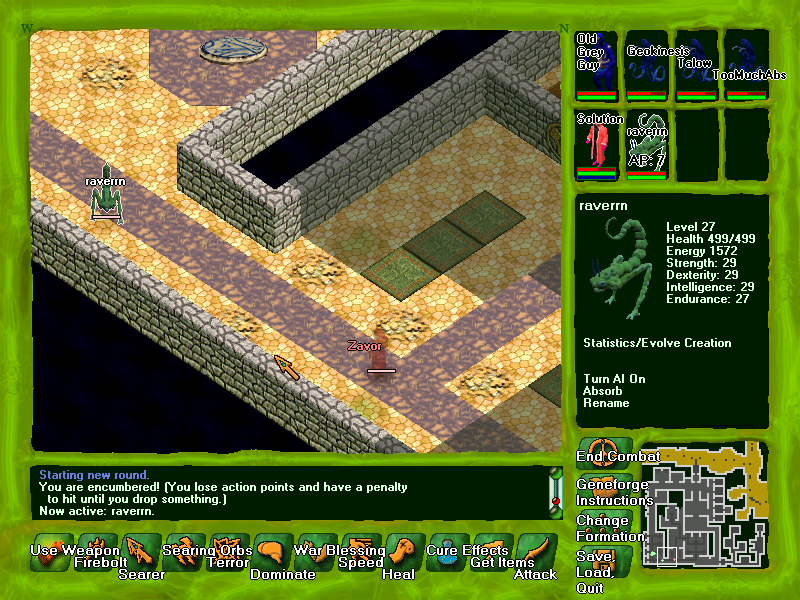
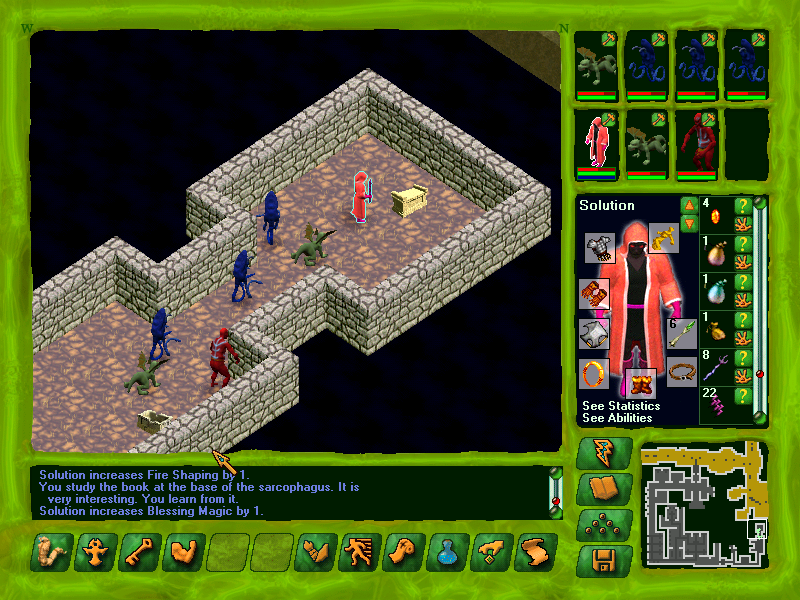
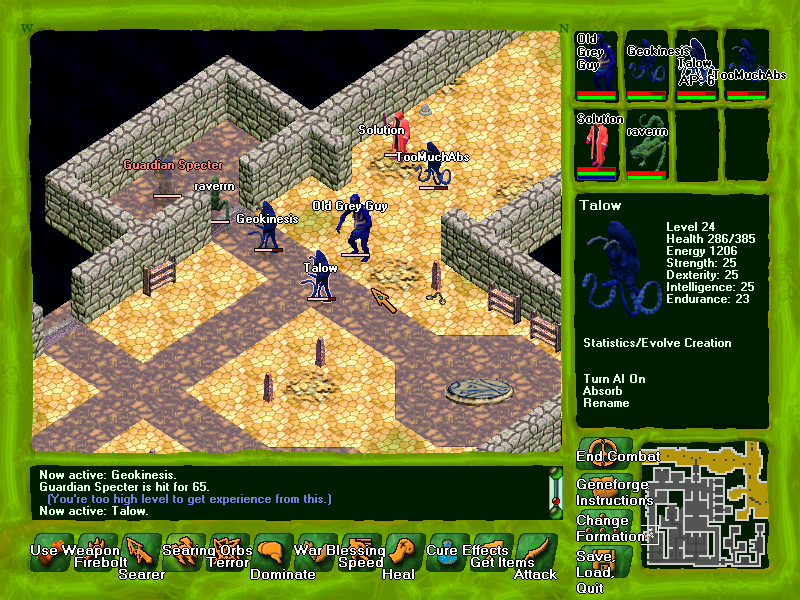
Look who's back!
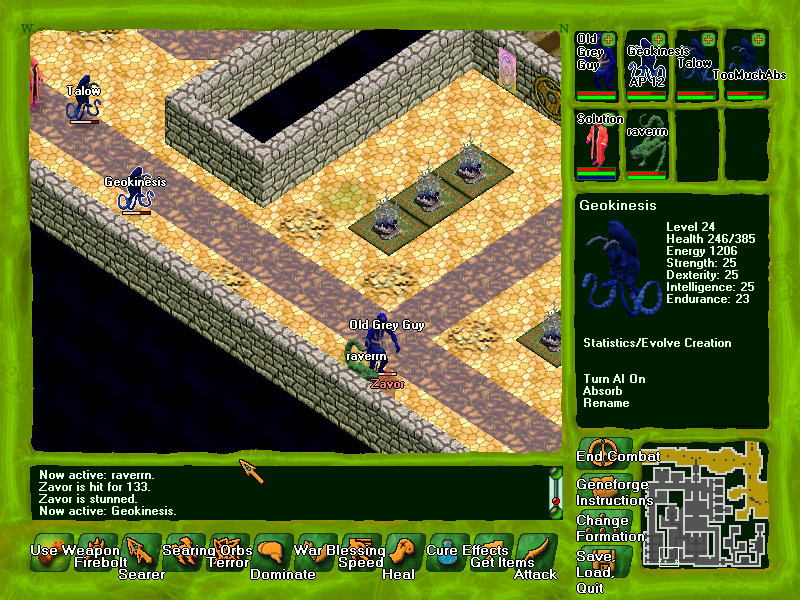
Old Grey Guy and raverrn pummel the unlife out of Zavor and Geokinesis finishes him off.

Zavor's band is pretty nice, and a lot of players choose to equip it.
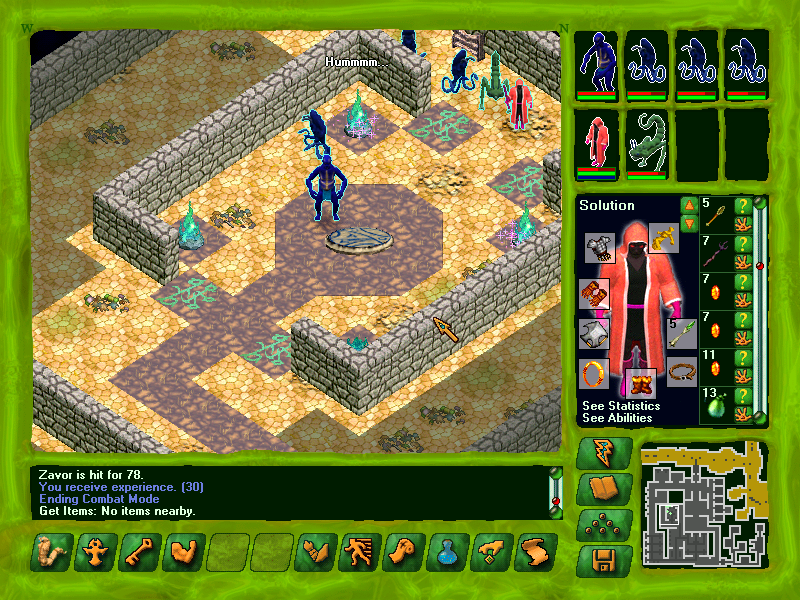
To celebrate, we have a little disco party here in the Shaping chamber where Zavor was sealed.
Now we've got some optional quests to clear up, including faction quests.